
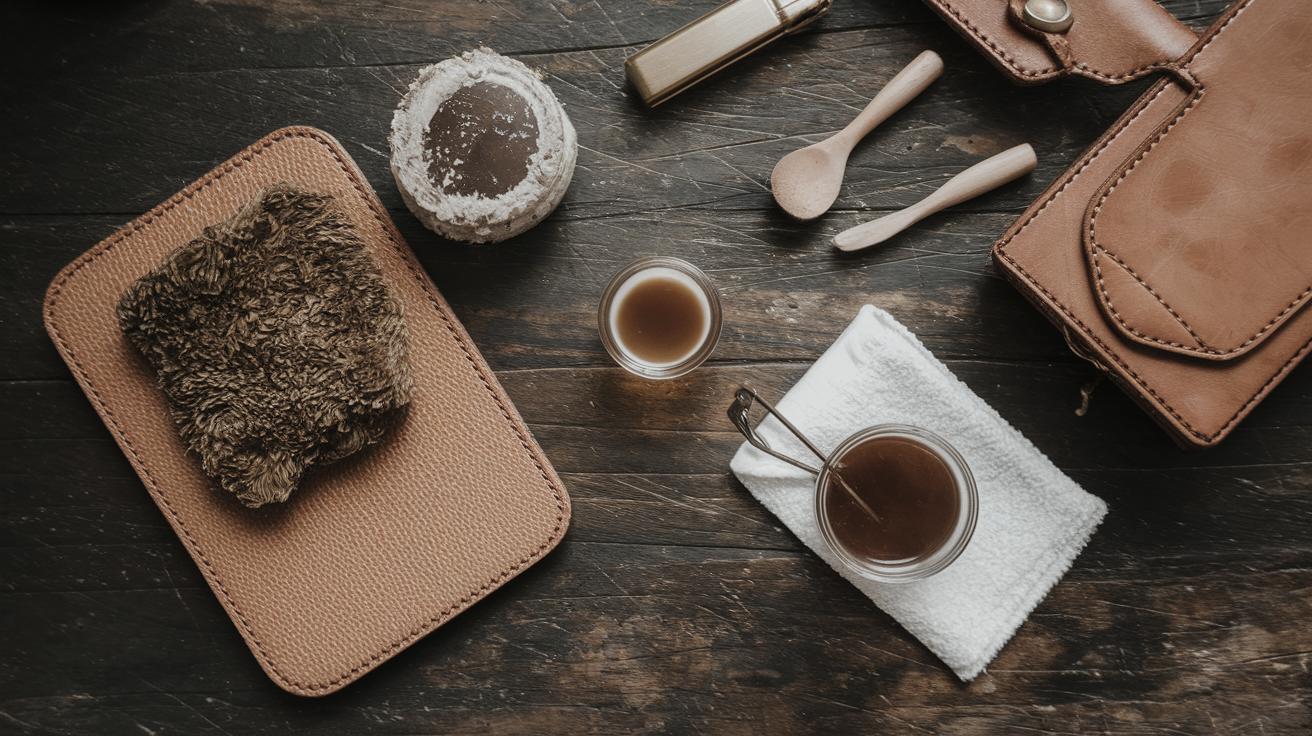
How to Clean and Restore Leather Goods
Leather goods are timeless pieces that can last for years, exuding beauty and elegance. However, over time, they can succumb to wear and tear, losing their luster and appeal. By learning how to properly clean and restore leather goods, you can extend their lifespan and keep them looking as good as new. In this blog post, we will explore the essential steps you need to follow, from cleaning and conditioning to removing scratches and polishing hardware. Whether you’re working on a cherished leather bag or a pair of vintage leather shoes, this guide will provide you with the techniques and tips necessary to restore them to their former glory.
How to find a fixer-upper
Before diving into the cleaning and restoration process, it’s crucial to start with selecting the right leather item to work on. A fixer-upper is an item that holds potential despite its current condition. Begin by scouring thrift stores, estate sales, and online marketplaces for leather goods that catch your eye. Focus on pieces that may have scratches, scuffs, or discoloration but are structurally sound and free from irreparable damage.
When evaluating potential fixer-uppers, consider the quality of the leather and any unique features the item might have. Check for brand tags or labels, as these can increase the investment value of the piece once restored. Look for signs of good craftsmanship, such as solid stitching and hardware, to ensure you are working on a high-quality item that will be worth the time and effort of restoration.
Step one: clean the inside
The interior of leather goods is often overlooked, yet it’s a key part of the restoration process. Start by emptying the item and vacuuming out any loose debris. For fabric linings, use a fabric cleaner or a mixture of mild soap and water to gently clean the inside surfaces. Avoid soaking the liner, and instead, use a damp cloth to blot and remove dirt and stains.
If the interior is made of leather or suede, use a specialized cleaner designed for these materials. Apply the cleaner with a soft cloth and work it gently into the leather to clean without saturating it. Allow the inside to dry completely by leaving it open in a well-ventilated area. This is crucial to prevent mold and odors from developing, ensuring your leather item is fresh inside and out.
Step two: clean the outside
Cleaning the outside of a leather item requires patience and attention to detail. Begin by wiping down the surface with a dry cloth to remove any dust or debris. Then, apply a leather cleaner or a mild soap solution using a soft cloth. It’s essential to test the cleaner on a small inconspicuous area first to ensure it doesn’t discolor the leather.
Work the cleaner into the leather with gentle circular motions, focusing on areas with heavy soiling or stains. Avoid excessive water which can damage the leather. Once clean, use a dry, soft cloth to wipe away any remaining soap residue and leave the leather to air dry. This step helps restore the natural beauty of the leather and prepares it for conditioning.
Step three: condition
Conditioning leather is vital for maintaining its softness and preventing cracks. Choose a high-quality leather conditioner that matches the type of leather you are working with. Apply the conditioner to a soft cloth and work it into the leather using small, circular motions. This step will nourish the leather fibers and enhance their natural sheen.
Be careful not to oversaturate the leather; a little conditioner goes a long way. Once you’ve applied it over the entire surface, allow the leather to sit and absorb the conditioner for several hours or overnight. Wipe off any excess with a clean, soft cloth. Proper conditioning helps to fortify the leather against future wear and environmental damage.
Step four: remove scratches and discolouration
Scratches and discoloration can mar the appearance of leather goods, but they are often fixable with the right techniques. For minor scratches, use a leather oil or a wax stick specifically designed for scratch repair. Apply a small amount to the scratched area and massage it in with a soft cloth until the scratch fades into the surrounding leather.
Discoloration can be more challenging to address. For light stains or fading, a leather recoloring balm may be effective. Choose a balm that closely matches the original color of the leather and apply it with a sponge or soft cloth, following the product instructions. Layer slowly, allowing each coat to dry before applying the next, until you achieve a uniform color.
Step five: polish the hardware
The hardware on leather goods, such as buckles, zippers, and clasps, can tarnish over time, dulling the overall appearance. Start by cleaning the hardware with a gentle metal cleaner or a homemade solution such as vinegar and water. Use a small brush or an old toothbrush to scrub the metal gently and reach into crevices.
Once clean, polish the hardware using a metal polish or a soft cloth to restore its shine. Buff each piece carefully to remove any residue and reveal a bright finish. Well-maintained hardware can significantly enhance the appeal of your leather item, adding a touch of sophistication and completing the restoration process.
Step seven: fix loose threads
Loose threads on leather goods not only affect the aesthetics but can also compromise their structural integrity. To fix this, start by trimming any excess length from the loose threads with small, sharp scissors. If the thread is still intact, you can reinforce it by sewing it back into place using a needle and thread in a matching color.
In cases where the stitching has completely unraveled, you may need to resew the area. Using a quality leather needle and strong thread, follow the original stitch path to keep the repair as subtle as possible. Reinforcing and repairing loose threads can greatly prolong the life of your leather items and ensure they hold together well under use.
Final thoughts
| Step | Action | Details |
|---|---|---|
| 1 | Clean the Inside | Empty, vacuum, and clean fabric or leather linings gently. |
| 2 | Clean the Outside | Wipe, clean, and dry the leather surface meticulously. |
| 3 | Condition | Apply conditioner evenly to prevent cracks and maintain softness. |
| 4 | Remove Scratches & Discolouration | Use oil or balm to minimize scratches and restore color. |
| 5 | Polish the Hardware | Clean and shine zippers, buckles, and clasps for a polished look. |
| 7 | Fix Loose Threads | Trim, reinforce, or resew as necessary to maintain integrity. |

