
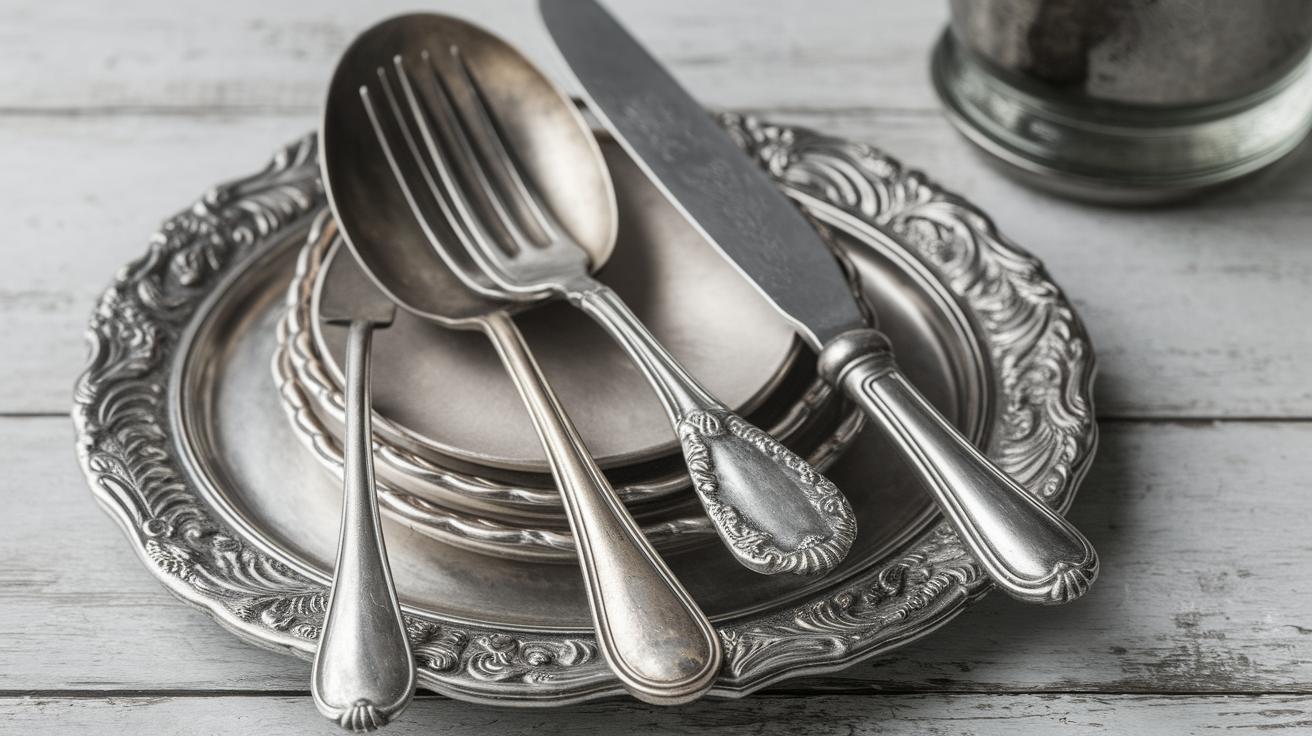
Restoring the Patina on Antique Silverware
The gleam and timeless beauty of antique silverware can transform a dining experience and captivate the senses. For those who treasure their silver collections, maintaining and restoring the patina on these precious items is crucial to preserving their aesthetic and historical value. This guide delves into the best practices for caring for antique silver, highlighting cleaning techniques and tools tailored to various needs. Whether you’re looking to gently clean, polish, or store your silverware to prevent tarnish, these insights will help ensure your items remain as cherished heirlooms for generations to come.
How to Care for Silver
Caring for silver involves regular cleaning and proper storage, which are essential to maintaining its appearance and preventing tarnish. Tarnish forms when silver reacts with sulfur-containing substances in the air, resulting in a dull, dark coating. To avoid this, silver should be cleaned regularly, especially after use.
When handling antique silver, it’s important to do so with clean hands or soft gloves to prevent the oils from your skin from transferring to the metal. Regularly used silver typically requires less intensive cleaning, as frequent use naturally keeps tarnish at bay. For pieces on display, periodic cleaning and diligent storage practices are paramount to preserving their luster.
What You’ll Need
Equipment / Tools
To restore the patina on antique silverware, you’ll need a few essential tools: microfiber cloths for gentle cleaning, soft-bristle brushes for intricate detailing, and a non-abrasive polish applicator. Additionally, consider using a dedicated silver dip tray or plastic tub for soaking solutions.
Professional jewelers’ polishing cloths are also advantageous, as they often contain anti-tarnish agents that can help maintain the silver’s shine over time. It’s essential to use tools specifically designed for silver care to avoid scratches and other damage.
Materials
The materials you need depend on the cleaning method you choose. Common items include mild dish soap, baking soda, aluminum foil, white vinegar, and kosher salt. For more unconventional methods, you might use ketchup, lemon juice, or non-gel toothpaste.
For tarnished and antique silver items, having a commercial silver polish on hand offers a safe and effective solution. While some prefer homemade cleaning solutions, commercial options often provide quicker, more reliable results for heavily tarnished pieces.
Instructions
Before cleaning any silver piece, it’s important to determine its composition. Pure and sterling silver can usually withstand more aggressive cleaning methods than silver-plated items. Always test a small, inconspicuous area first before proceeding to ensure no adverse reactions.
For best results, follow these general steps: gently wash and rinse the item, identify the appropriate cleaning method (dish soap, baking soda, or silver polish), apply the method carefully, and finally, rinse and thoroughly dry the item before storage. This systematic approach helps maintain the integrity and luster of your antique silverware.
How to Clean Silver with Dish Soap
Wash Silver in Soapy Water
Begin with a simple, mild dish soap solution. Fill a basin with warm water and add a few drops of dish soap. Stir the water until sudsy. Place the silver items into the soapy water, allowing them to soak briefly while you gently wipe or scrub with a soft cloth or brush.
This method is effective for lightly tarnished silver, removing dirt and grease without damaging the metal. For intricate designs, use a soft-bristle toothbrush to reach crevices and details, ensuring the entire piece is cleaned.
Rinse and Dry Silver
After washing, rinse the silver items in clean, warm water to remove any soap residue. It’s crucial not to leave behind any soap, as it can cause tarnish to form over time. Dry the silver thoroughly with a soft, lint-free cloth, ensuring no moisture remains, which can also lead to tarnishing.
Drying should be done by gently patting the items rather than rubbing them, which can cause scratches. For larger pieces, allow them to air dry on a soft towel before storing them.
Store Silver
Proper storage is key to preventing tarnish on antique silverware. Store silver items in an area with low humidity and away from direct sunlight. Use tarnish-resistant cloth bags, chests, or drawer liners to protect and preserve their sheen.
Regularly used items can be stored with anti-tarnish strips or silica gel packs, which absorb moisture and sulfur compounds. For less frequently used pieces, wrapping them in acid-free tissue paper before placing them in a storage chest offers additional protection.
How to Clean Silver with Baking Soda and Aluminum Foil
Prepare the Pan or Sink
Line a baking pan or sink with aluminum foil, shiny side up. The aluminum foil acts as a catalyst in the reaction to remove tarnish. Ensure the foil completely covers the surface to facilitate even tarnish removal.
The size of the pan or sink should be sufficient to fully submerge the silver items in the cleaning solution. Lay the silver pieces on the foil, ensuring no pieces are stacked, allowing them to evenly engage with the solution.
Add Boiling Water
Boil a kettle or pot of water and carefully pour it into the lined pan or sink until the silver pieces are submerged. The hot water assists in activating the cleaning solution, expediting the tarnish removal process.
Exercise caution when handling boiling water to prevent burns. Using tongs or heat-resistant gloves may help when adjusting or removing pieces from the hot solution.
Add Baking Soda and Kosher Salt
Add a cup of baking soda and a half cup of kosher salt to the water, gently stirring to dissolve. The combination of baking soda, salt, and aluminum creates a natural chemical reaction that strips tarnish from the silver.
This method is applauded for its eco-friendliness and simplicity. The process can be repeated for heavily tarnished items, though always rinse silver thoroughly once finished to remove any residual salts or baking soda.
Add Silver Items to Cleaning Solution
Place the silver items in the solution, ensuring they maintain contact with the aluminum foil. Leave the items in the solution for a few minutes, observing as the tarnish vanishes.
More extensive tarnish may require increased exposure time; however, it’s usually best to check frequently and not exceed ten minutes to avoid potential damage. Removing items too soon is preferable to inadvertently extending exposure.
Let Cool and Dry Silver
Once the tarnish removal is complete, use tongs to remove the items and place them on a cloth to cool. Pat the pieces dry with a microfiber cloth, ensuring they are completely dry before storing.
This cooling process prevents further tarnish from forming and is crucial before placing silver back in storage. Re-evaluate items once dried to ensure no tarnish remains, repeating the process if needed.
How to Clean Silver with Vinegar
Line Pan or Sink
Similar to the baking soda method, line your pan or sink with aluminum foil, ensuring it’s large enough to fit your silver pieces. This layer provides the necessary surface for the forthcoming chemical reaction.
The aluminum enhances reaction efficiency, aiding in comprehensive tarnish removal with minimal manual effort, making this process convenient for delicate antiques.
Mix Vinegar Cleaning Solution
In a separate container, mix a half cup of white vinegar with a cup of boiling water and a tablespoon of baking soda. Stir the mixture until the baking soda dissolves, resulting in a fizzy reaction signifying readiness.
This homemade cleaner offers an alternative to commercial products, leveraging common household items to achieve impressive results without risk to the metal.
Add Boiling Water
Pour the prepared vinegar solution into the aluminum-lined pan or sink, ensuring that the silver items are submerged. This bath will work to dislodge tarnish as the solution interacts with both the aluminum and the silver.
The cleaning solution should be stirred gently to enhance distribution and effectiveness. Care should be taken to ensure full submersion of items within the liquid.
Add Silver and Let Soak
Place the silver items into the solution, allowing them to soak for five to ten minutes. During this time, monitor the reduction of tarnish and inspect more heavily tarnished areas to ascertain additional needs or action.
For particularly stubborn spots, a gentle rub with a cloth may further expedite removal. Once tarnish is eliminated, promptly remove items from the solution to curtail reaction time.
Dry and Buff
Remove pieces from the soaking solution, letting excess solution drip away before placing the items on a towel. Thoroughly dry each piece with a microfiber cloth, gently buffing them to bring forth their natural gleam.
Buffing enhances the restored patina, giving each piece a vibrant, reflective finish that underscores the care extended to preserving these antiques.
More Ways to Clean Silver
Polish Silver with Ketchup
Ketchup can be a surprising ally in the quest to clean silverware, especially for those seeking quick fixes. The acidity in the tomatoes aids in lifting tarnish, whereas the salt mildly abrasives, making it suitable for small spots.
Using a clean cloth or sponge, dab a small amount of ketchup onto the tarnished area, allowing it to sit for 10-15 minutes before rinsing thoroughly. Buff with a clean cloth for a subtle gleam.
Remove Water Spots from Silver with Lemon
Lemon juice is naturally acidic and can help remove water spots from silver. Simply cut a lemon in half and lightly rub it over the spots, then let the juice sit for five minutes before rinsing.
This method should be applied cautiously on true antique pieces to avoid potential etching. Ensure quick and thorough rinsing post a five-minute interval to prevent adverse reactions.
Restore Shine with Toothpaste
Non-gel toothpaste offers a mild abrasive solution to buff out light tarnish. Apply a small amount to a soft cloth, rubbing gently in a circular motion, then rinse and buff dry.
While effective for immediate touch-ups, this method can be abrasive if overused. Limit application to minimal occurrences, primarily in areas requiring immediate corrective action.
How to Clean Silver-Plated and Antique Silver Items
Caring for silver-plated and antique silver items demands a delicate approach to avoid removing the silver plating or harming the patina. It’s advisable to use gentle, non-abrasive methods like the lemon or dish soap techniques unless heavy tarnish removal is crucial.
Always test any cleaning method on an inconspicuous area first, especially on antique or heavily decorated items, to ensure no damage occurs. Consulting a professional restorer is best for valuable antiques.
How to Polish Silver
Polishing silver is an art that involves using non-abrasive polishes and gentle cloths to avoid scratching or stripping the metal. Apply polish sparingly, using circular motions to bring out the natural luster.
Commercial polishes often offer the benefit of anti-tarnish protections, extending time between cleanings. Ensure polishing remnants do not remain on items as they can lead to future tarnishing.
How to Store Silver and Prevent Tarnish
Storage plays a critical role in tarnish prevention. Utilize tarnish-resistant bags, chests, or drawer liners to shield silver items from airborne chemicals and humidity.
Limited exposure to air significantly prolongs the shine of silver, making vacuum sealing an attractive modern-day storage option for seldom-used items—further, storing individual pieces separately avoids scratches and prolongs their elegance.
Frequently Asked Questions
Many frequently asked questions revolve around maintaining antiques’ integrity and ensuring tarnish resistance. A common inquiry is about the frequency of cleaning, typically advised at once every six months, barring increased air exposure or contact with tarnish-inducing environments.
Another popular question concerns how to tell if an item requires professional restoration, with indicators like persistent tarnish, damage, or value pointing towards seeking expert advice. Regular maintenance generally pre-empts these needs, securing the item’s longevity.
Next Steps
| Method | Tools | Ideal For |
|---|---|---|
| Dish Soap Cleaning | Dish soap, warm water, microfiber cloth | Light tarnish, routine care |
| Baking Soda & Aluminum Foil | Baking soda, aluminum foil, boiling water, salt | Moderate tarnish, deep clean |
| Vinegar Cleaning | Vinegar, boiling water, aluminum foil, baking soda | Moderate tarnish, eco-friendly cleaning |
| Ketchup Polishing | Ketchup, cloth | Spot cleaning, quick touch-ups |
| Lemon Spot Cleaning | Lemon juice, cloth | Water spots, minor issues |
| Toothpaste Buffing | Non-gel toothpaste, cloth | Spot checks, immediate shine |

