
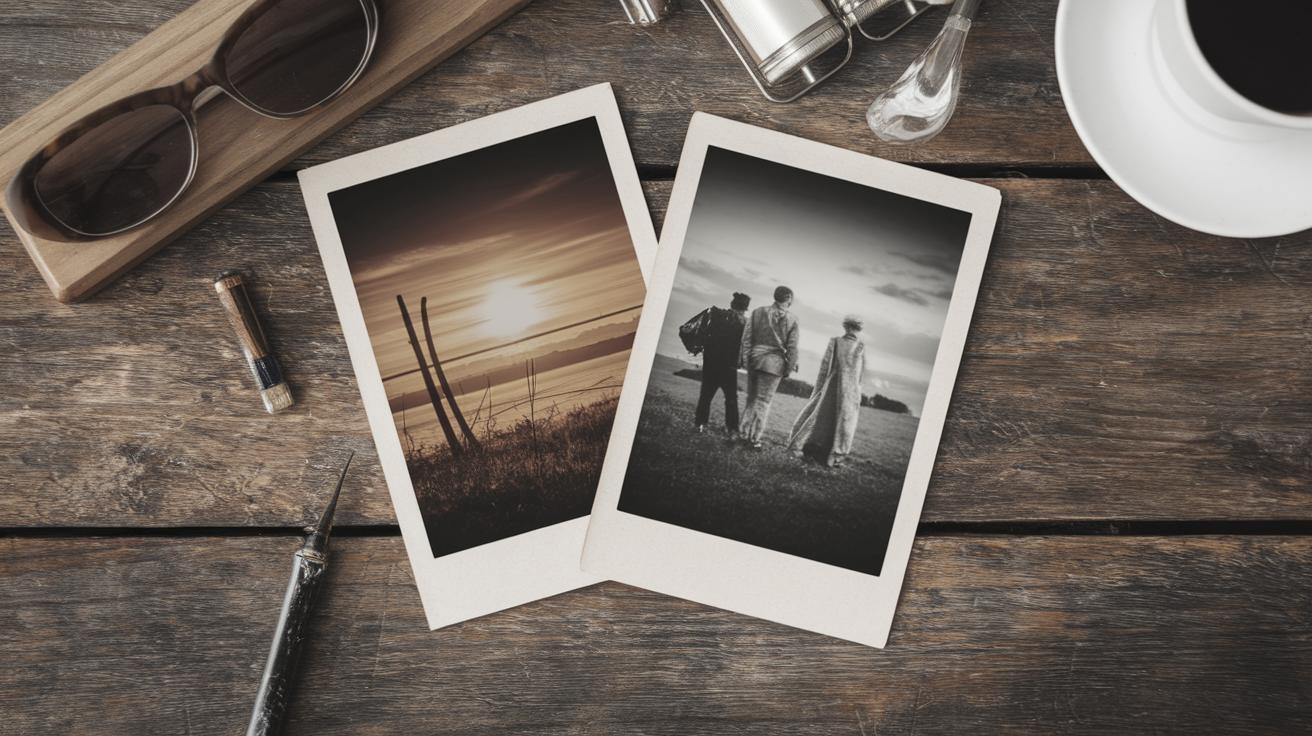
How to Restore Old Photographs Effectively
Restoring old photographs is a rewarding process that can breathe new life into cherished memories. This blog post provides detailed steps on how to restore photographs effectively with a focus on using digital tools like Adobe Photoshop. We’ll cover everything from the initial scanning of the photo to exporting the final, restored image. In addition, we’ll provide alternative methods for those who wish to dive deeper into the art of restoration. Whether you’re an amateur looking to preserve family photos or a professional seeking to enhance your skills, you’ll find these tips both helpful and easy to follow. Let’s embark on this artistic journey and bring back the vibrancy of your treasured photographs!
Tips for Photographing Old Photos for Restoration
Photographing old photos is a critical step in the restoration process, as it ensures that you maintain the integrity and details of the original image. Start by cleaning the photograph gently using a soft, lint-free cloth to remove any dust or loose particles. This will prevent scratches on the surface during scanning or photographing. Ensure that you have good lighting; natural light is ideal as it minimizes glare and shadows.
When photographing the photo, use a tripod to avoid movement and keep the camera as parallel as possible to the photograph’s surface. Set the camera to a high resolution to capture all the details. If you’re working with a very delicate photo, consider using a DSLR camera for better depth and quality. By preparing your photograph this way, you are setting a strong foundation for the restoration that follows.
1. Scan the Photo
Once your photograph is prepped, the next step is to scan it. This is often the preferred method over photographing as it provides a higher and more consistent resolution. Use a flatbed scanner and set the resolution to no less than 300 dpi (dots per inch) to ensure a clear reproduction.
Make sure your scanner’s glass is clean to prevent any speckles or marks from appearing on the digital image. After scanning, save the image in a high-quality format such as TIFF or PNG, which are lossless and preserve the detail necessary for effective restoration. Avoid JPEGs as this format can degrade image quality over multiple saves.
2. Open the Image in Photoshop and Create a Duplicate Layer
Opening the scanned image in Adobe Photoshop allows for precise and comprehensive restoration. Always work non-destructively by creating a duplicate layer of your image. This can be done by right-clicking the background layer and selecting “Duplicate Layer.”
Working on a duplicate layer means that any corrections can be revised or adjusted without altering the original scan. This layer will serve as your working canvas, protecting the scanned image while giving you freedom to experiment with various restoration techniques.
3. Open the Restore Photo Filter
The Restore Photo Filter is a powerful tool in Photoshop that assists in repairing damaged photographs. To access it, navigate to the ‘Filter’ menu and select ‘Restore Photo’ filter. This tool provides access to automatic repairs such as reducing noise or adjusting contrasts to enhance faded details.
Take time to familiarize yourself with the different settings available in the filter. Adjusting the intensity and balance can reveal hidden details or correct exposure issues. Keep in mind that each photograph will require a different approach, so it’s important to experiment with these settings to achieve the best result.
4. Alternative Option: Healing Brush and Healing Spot Tools
For stubborn imperfections, the Healing Brush and Healing Spot tools can be invaluable. These tools allow you to manually correct small defects like scratches, spots, and creases by painting over them, matching the texture, lighting, and shading of surrounding pixels.
To use these tools effectively, zoom into your image to address small areas precisely. The Healing Brush works like a paintbrush, whereas the Healing Spot tool acts more like a clone stamp, filling in targeted areas seamlessly. These tools are perfect for erasing imperfections without affecting the overall quality of the image.
Recommended by Our Editors
Our expert editors recommend experimenting with both the Restore Photo filter and manual tools to find the perfect combination for your photo. Take breaks to give your eyes a rest and ensure you’re not missing any details. Also, utilizing Adobe’s extensive tutorials can upgrade your skillset, making complex restorations achievable even for beginners.
5. Bonus Step: Colorize the Photo
Colorizing old photographs can add an extra dimension and bring your image into the present. Photoshop offers various methods to colorize a black-and-white photo; one popular way is using the ‘Neural Filters.’ These filters use AI to automatically apply color based on what it interprets.
For those who prefer manual control, use adjustment layers to add color gradually. Overlay multiple colors for depth and realism, ensuring to layer them in a natural order. This step can transform a simple restoration into a vivid masterpiece, offering a new life to memories.
6. Export the Restored Image
Once you’re satisfied with the restoration, it’s time to export your image, ensuring all your hard work is preserved in the desired format. Choose ‘File’, then ‘Export’, and ‘Export As’ to select the appropriate file type.
For web or sharing, a JPEG might be sufficient, but for archival purposes, consider saving a version in TIFF or PNG formats for their lossless attributes. Always keep a copy of the Photoshop project file, so you’re able to return and tweak your restoration if needed.
About Michael Muchmore
Michael Muchmore is a renowned software reviewer and technology expert, with years of experience in digital imaging and photo editing. His insights have guided many in enhancing their digital photo editing skills through streamlined techniques and thoughtful critiques. Known for his meticulous approach, Michael continues to educate and inspire a new generation of photo editors and enthusiasts.
Next Steps
| Step | Description |
|---|---|
| Scan the Photo | Digitalize the photo using a flatbed scanner with at least 300 dpi resolution. |
| Open in Photoshop | Create a duplicate layer for non-destructive editing. |
| Filter Application | Use the Restore Photo filter to automatically mend and enhance details. |
| Manual Tools | Apply Healing Brush and Spot Healing tools to rectify minor defects manually. |
| Colorize | Use Neural Filters or manual techniques to add color to black-and-white photos. |
| Export | Save the image in a format suitable for your purpose, preserving quality and edits. |

