
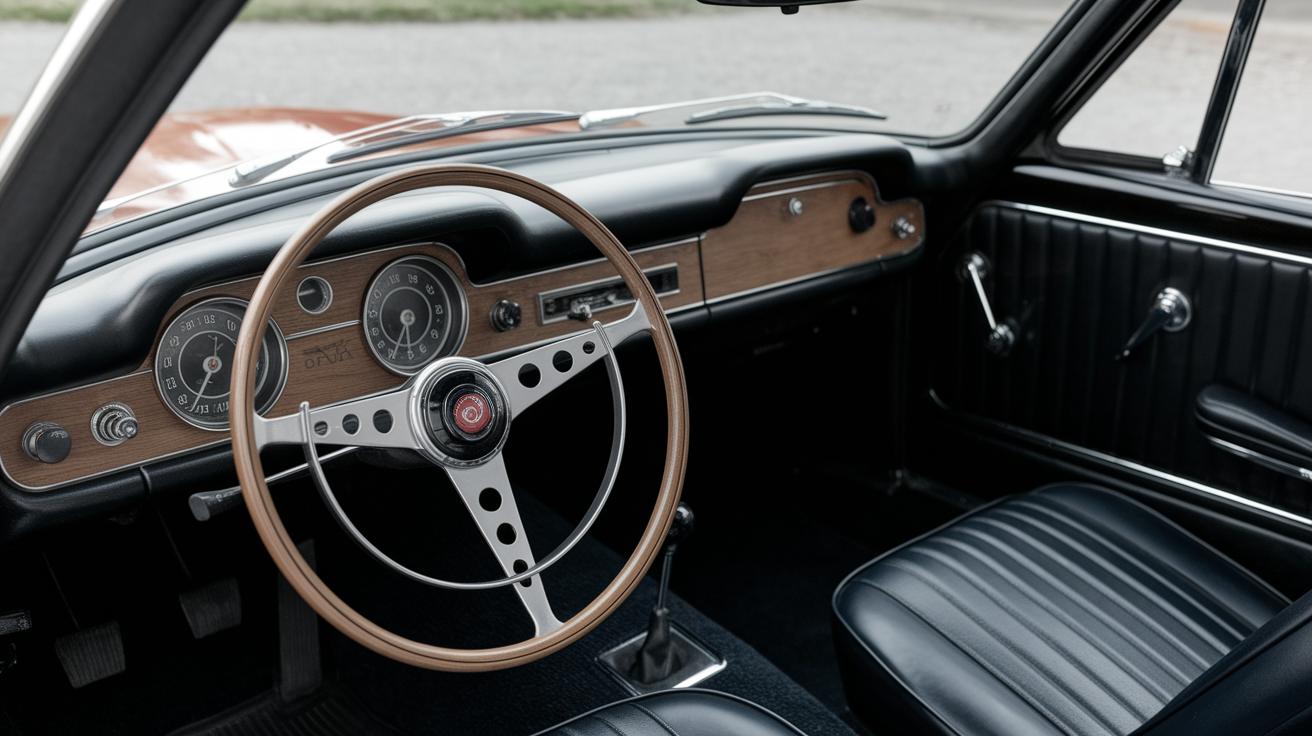
Revitalizing Your Classic Ride: A Guide to Restoring and Maintaining a Classic Car Interior
Classic cars are more than just vehicles; they are a piece of history, embodying the elegance and style of their era. Restoring a classic car’s interior can be both a rewarding endeavor and a meticulous task. Whether you are a seasoned restorer or a hobbyist, knowing where to start and how to proceed can make a significant difference in achieving a stunning result. This guide explores five critical areas of interior restoration: replacing the carpet, refreshing seat upholstery, upgrading the headliner, reinvigorating door panels, and updating the dash panel and gauges. Dive into each component of restoration to breathe new life into your cherished classic.
1. Change Out that Old Classic Car Carpet
The carpeting in a classic car not only suffers from wear and tear but can also harbor decades of dirt, stains, and odors. Removing the old carpet is the first step toward a fresh interior environment. Start by carefully detaching any mechanisms covering the carpet, such as seat tracks and sill plates, ensuring you don’t damage the surrounding components. Once removed, inspect the flooring for any signs of rust or damage, and address these issues before fitting the new carpet.
Choosing the right replacement carpet is crucial; consider one that matches the original as closely as possible to preserve the authenticity of your classic car. Examine options such as molded versus cut-and-sew carpets to find what fits your needs best. Once you have your new carpet, lay it out in the sun to help smooth out any wrinkles before installing it. Proper alignment and secure attachment of the carpet are essential for a neat finish.
2. Replace the Seat Upholstery
Seats often endure the most use within a car’s interior, resulting in worn-out upholstery over time. Restoring the seats can dramatically enhance both the appearance and comfort of your classic car. Begin by removing the seat covers and examining the condition of the seat foam. Any degraded foam should be replaced to ensure proper support before reupholstering.
When selecting new upholstery, consider material types such as leather, vinyl, or fabric, with a focus on replicating the car’s original style. Pay attention to the color, texture, and stitching patterns to ensure an authentic restoration. For detailed work, consider professional help to achieve a factory-fit finish, which can elevate the aesthetic value of your classic car’s interior.
3. Upgrade Your Headliner
The headliner might not always be the first thing that people notice, but it plays a significant role in the overall impression of your vehicle’s interior. Over time, headliners can sag, discolor, or deteriorate. To remove the existing headliner, gently detach it from the edges without damaging the roof structure.
Installing a new headliner requires precision; choose a material that mirrors the original look. After selecting your material, cut it to size and apply adhesive evenly to secure it properly. This process can be intricate, so take your time to align the fabric neatly and remove any air bubbles for a flawless appearance. A correctly installed headliner can vastly improve the cabin’s ambiance, adding to your classic car’s overall elegance.
4. Open New Doors
The condition of your car’s doors can significantly affect the overall interior look and feel. Over the years, door panels might crack, sag, or become discolored. Start by removing the door panels, being careful with clips and screws that may be fragile due to age.
Once removed, consider updating the padding and material. Match the door fabric with the seat upholstery to maintain a cohesive theme throughout the interior. Pay special attention to details such as armrests and door handle operation to ensure they both function smoothly and match the fresh aesthetic of your makeover.
5. Don’t Forget the Dash Panel and Gauges
The dash panel and gauges are focal points of any vehicle interior, providing crucial information and enhancing the driving experience. Over time, these components may experience fading, cracking, or outdated function. Begin by evaluating the dashboard’s condition. For minor issues, consider solutions like dash repair kits, while significant damage might necessitate replacement.
When it comes to gauges, updating them with accurate and functional items is essential. Whether refurbishing the original dials or replacing them with new, retro-styled ones, ensure that all electrical systems are compatible and functioning correctly. A restored dash panel and gauges can significantly enhance both the usability and visual appeal of your classic car.
Future Prospects
| Component | Action | Considerations |
|---|---|---|
| Carpet | Replace | Match original style, check for flooring damage |
| Seat Upholstery | Reupholster | Select materials carefully, check foam condition |
| Headliner | Upgrade | Ensure precision in installation, match original material |
| Door Panels | Refresh | Focus on details, match to seat upholstery |
| Dash Panel and Gauges | Refurbish/Replace | Refurbish for minor issues, ensure gauge compatibility |

