
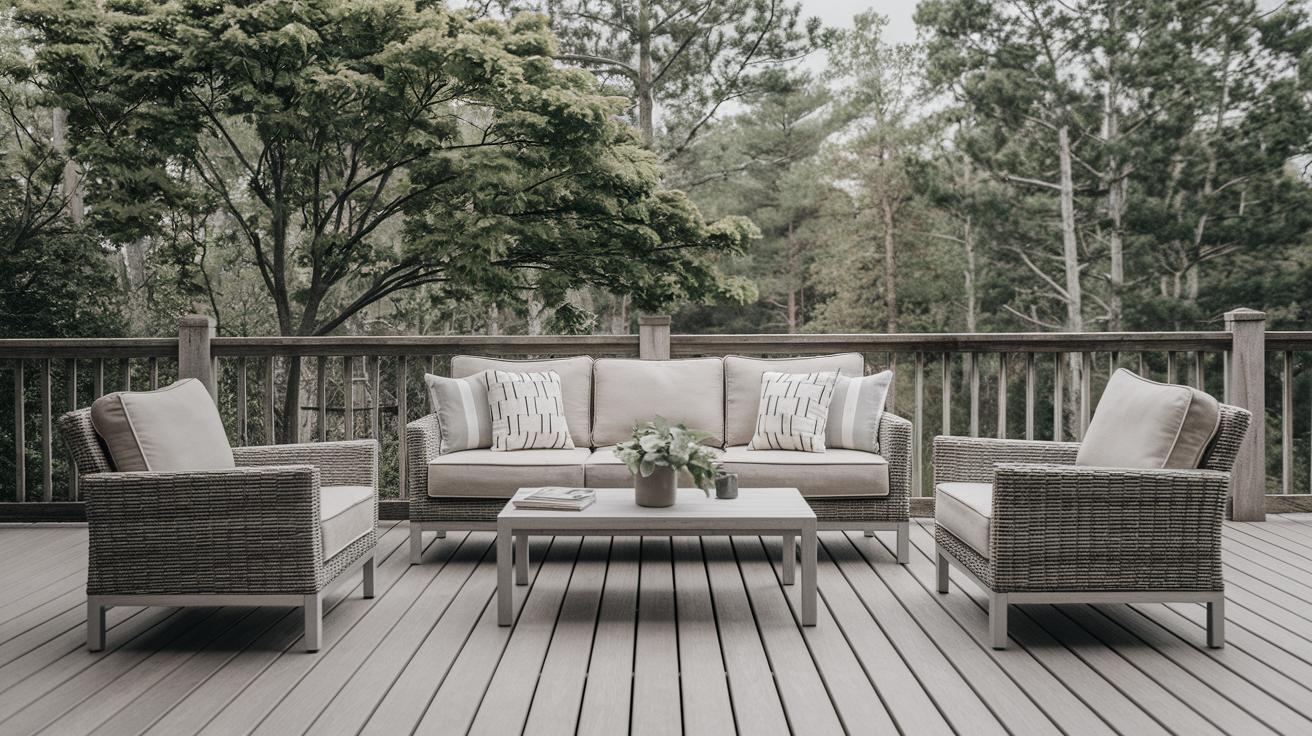
Best Approach to Restoring Outdoor Furniture
Outdoor furniture adds charm and functionality to your garden, patio, or balcony, but over time, exposure to the elements can cause significant wear and tear. Whether it’s a favorite set of wooden chairs or a metal table, restoring outdoor furniture is not just about aesthetics but also about prolonging the life of your pieces. This guide will outline the best approach to reviving your beloved outdoor furniture, focusing on the essential supplies, proper preparation, and meticulous application techniques needed to achieve the desired results. Alongside practical tips, you’ll find resources for further reading and ideas for other outdoor projects to keep your outdoor space inviting and comfortable.
SUPPLIES:
Before you dive into restoring your outdoor furniture, it’s crucial to gather all necessary supplies. The type of supplies you’ll need largely depends on the material of your furniture, whether it’s wood, metal, or wicker. Common supplies include sandpaper, a wire brush, a drop cloth, paint or stain, sealer, and appropriate cleaning solutions. For wood, a wood cleaner and wood conditioner would be essential, whereas metal furniture might require rust converter and primer.
Investing in a high-quality primer and paint ensures that your restoration work stands the test of time. If you’re working with metal furniture, choose a rust-resistant primer and a metal-specific paint. For wooden furniture, make sure the stain or paint is appropriate for outdoor use, providing durability against sun and rain exposure.
STEP 1 – PREP
The preparation stage is fundamental to restoring outdoor furniture effectively. Start by cleaning your furniture thoroughly to remove any dirt, mold, or debris that has accumulated. Use a scrubbing brush or a pressure washer for hardier materials like metal. For wooden pieces, a gentle scrubbing with soapy water and a non-abrasive brush works best.
After cleaning, inspect the furniture for any damages like cracks or rust. Repair these issues before proceeding. Sanding is crucial, particularly for wooden furniture, as it removes the old finish while smoothing the surface. For metal pieces, sand down the rust spots to ensure a smooth application of paint or primer. This stage may seem labor-intensive, but it’s vital for ensuring a long-lasting restoration.
STEP 2 – APPLICATION
Once your furniture is prepped, it’s time to apply the finish. For wooden furniture, apply a wood conditioner first, followed by the stain and sealer. Use a brush or roller to ensure even coverage, and always work in the direction of the wood grain. Allow adequate drying time between coats to achieve a smooth finish.
For metal furniture, start with a rust-resistant primer, using a spray can for a smooth and even coat. Follow with a metal-specific paint to ensure durability. It’s best to apply several thin layers rather than one thick coat to avoid drips and ensure an even finish.
– SOURCES –
For those seeking additional information, numerous resources are available. Manufacturer guidelines often provide the best advice tailored to specific materials and finishes. Online forums and DIY websites can offer practical tips from experienced hobbyists.
Books on furniture restoration are also invaluable resources, especially for those looking to delve deeper into techniques and tips. Titles such as “Restoring and Finishing Outdoor Furniture” provide detailed guides and inspiration for both amateur and experienced restorers.
– MORE OUTDOOR PROJECTS –
Restoring outdoor furniture can be part of a larger initiative to revamp your outdoor space. Consider projects such as creating a DIY garden path, building a pergola, or setting up a cozy fire pit area. These projects not only enhance your garden but also create a welcoming outdoor haven.
Engaging in these projects can be a fulfilling hobby that offers both physical activity and a creative outlet. Whether it’s through solo endeavors or shared activities with friends and family, transforming your outdoor space can be a rewarding achievement, bringing satisfaction and joy to the process.
Related Posts
If you found this guide useful, you might be interested in related posts such as “How to Maintain Deck Furniture Throughout the Seasons” and “DIY Outdoor Decor: Easy Projects for Beginners.” These articles offer additional insights and creative ideas for optimizing and personalizing your outdoor space.
Additionally, exploring the art of upcycling can empower you to transform old, discarded items into beautiful outdoor decorations, blending functionality with creative expression.
Summary of Main Points
| Section | Key Points |
|---|---|
| SUPPLIES: | Gather appropriate cleaning and finishing materials specific to the furniture’s material. |
| STEP 1 – PREP | Thorough cleaning and inspection to repair damages; sanding is essential for a smooth surface. |
| STEP 2 – APPLICATION | Proper application technique involves conditioning and sealing wood or priming and painting metal. |
| – SOURCES – | Consult manufacturer guidelines, online resources, and relevant restoration books for additional guidance. |
| – MORE OUTDOOR PROJECTS – | Consider enhancing your outdoor space with additional DIY projects such as garden paths or pergolas. |
| Related Posts | Explore further reading on maintaining deck furniture and DIY outdoor decor for beginners. |

