
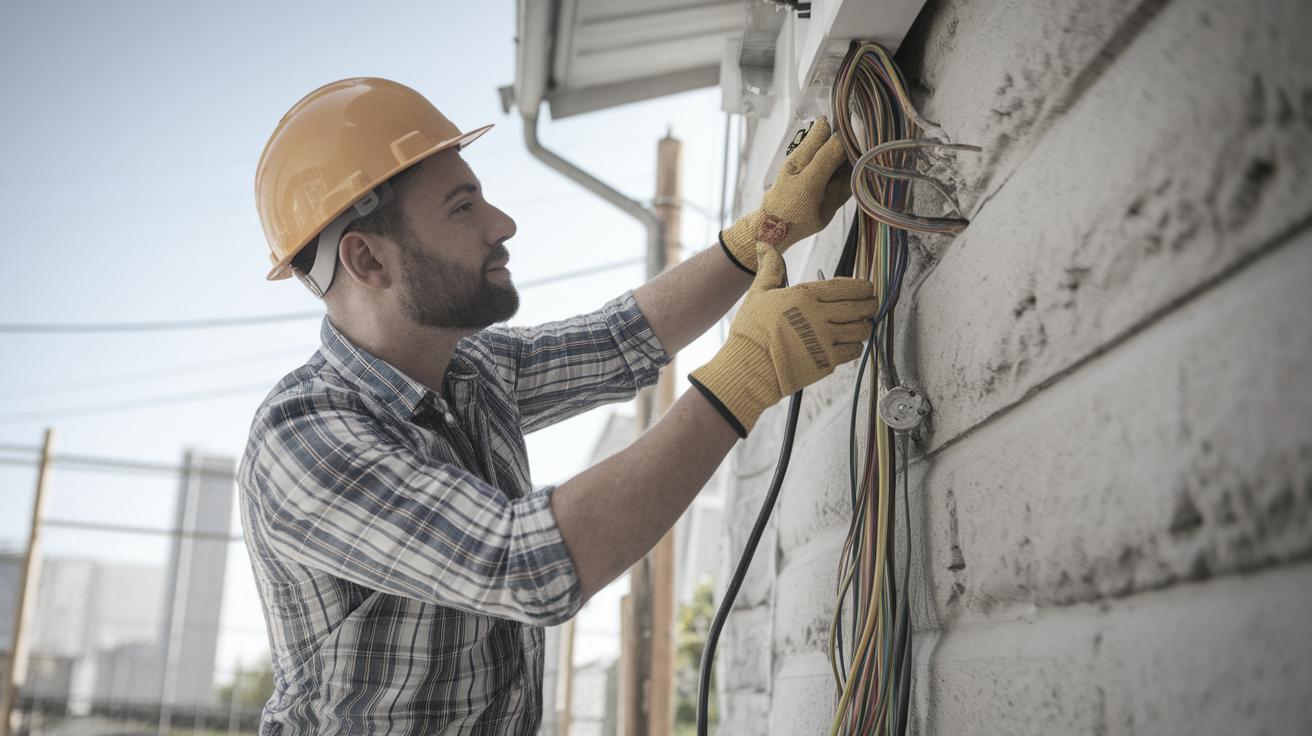
DIY Electrical Restoration Project: Essential Guides
Embarking on a DIY electrical restoration project can be a rewarding and cost-saving endeavor. Whether you’re installing new electrical outlets, wiring a room addition, fixing a short, installing a dedicated circuit, or upgrading your electrical panel, understanding the fundamentals is key. This comprehensive guide will provide you with step-by-step instructions on these essential tasks, helping you to safely and effectively manage your home electrical needs. Additionally, we will discuss when it’s crucial to call in professional electricians to ensure the safety and compliance of your electrical system. By following this guide, you’ll be well on your way to improving your home’s electrical functionality with confidence.
Installing New Electrical Outlets
Adding new electrical outlets can significantly enhance the functionality of any room in your home. Before proceeding, it’s important to determine the most suitable location for the outlet, based on your needs and local electrical codes. Remember that standard practice typically places outlets every 12 feet along a wall.
Ensure the power is completely off at the circuit breaker before beginning. Use a voltage tester to confirm the absence of electricity in the circuit you’re working on. You’ll need a drywall saw, a screwdriver set, and new electrical boxes and outlets. Once you’ve confirmed the location, cut neatly into the drywall and install the electrical box. Wiring the outlet requires connecting the appropriate wires to their respective terminals: black (hot) to the brass screw, white (neutral) to the silver screw, and green or bare (ground) to the green screw.
After wiring, carefully mount the outlet into the electrical box before securing the faceplate. Finally, restore power and test the outlet with an outlet tester. This straightforward project enhances convenience and accessibility in your home.
Wiring a Room Addition
When wiring a room addition, it’s crucial to plan your circuit layout meticulously, considering both current and future needs. This means determining the locations for outlets, switches, and lighting fixtures. Sketch a detailed wiring diagram to assist you in the process, which will be invaluable as a reference during the installation process.
Start by running cables through drilled holes in the framework of the new room, ensuring they are firmly but not overly tight. Use electrical boxes where fixtures and outlets will be installed, and make sure to follow local codes regarding box size and placement. Secure cables using wire staples, avoiding any stress that could damage their insulation.
Finally, connect the wiring to an existing circuit or to a new circuit in your breaker panel, ensuring the power is off and you’ve properly calculated the additional load. Upon completing the setup, perform thorough tests with a multimeter to ensure all connections are solid and free from shorts.
Fixing a Short
Fixing a short circuit is essential for maintaining safety and preventing potential property damage. Start by identifying the affected circuit at the breaker panel; a tripped breaker or blown fuse often indicates the location of the short. Utilize a digital multimeter to diagnose issues, checking for continuity and unexpected ground connections.
Turn off all power to the affected circuit and carefully inspect all outlets, switches, and appliances for signs of damage or wear, such as burnt wires or scorch marks. Often, the short can be traced to loose connections or worn-out insulation. Make any necessary repairs or replacements, being careful to maintain proper wire connections and secure terminal fittings.
After resolving the issue, restore power gradually and test the circuit using a multimeter to confirm the problem is fixed. Regular circuit maintenance and timely repairs can significantly reduce the likelihood of future electrical issues.
Installing a Dedicated Circuit
Installing a dedicated circuit is often necessary for high-powered appliances to ensure they function effectively without overloading your existing electrical system. Identify the specific appliance requirements and local code guidelines before beginning.
Lay out your path from the service panel to the proposed location of the appliance. Install a new circuit breaker in your panel compatible with the amperage and voltage requirements. This typically involves removing a knockout plate and attaching the new breaker.
Run the appropriate gauge wire from the breaker panel to the dedicated outlet or point of use, ensuring all connections are secure and conducting thorough testing using an outlet checker upon completion. A dedicated circuit prevents overloading existing circuits and ensures safe and efficient power delivery.
Upgrading Your Electrical Panel
Upgrading your electrical panel is a critical project when you need more circuits or increased capacity for modern electrical demands. First and foremost, ensure you have obtained any required permits and are familiar with local electrical codes concerning panel upgrades.
Turn off the main power supply to your home. This aspect of the project requires utmost caution and preferably guidance from a more experienced DIYer or professional. Remove the old panel carefully and install the new one, ensuring it has sufficient capacity and the right number of slots for your current and future needs.
Once the panel is physically in place, connect the individual circuits one by one, double-checking all tightness of connections and compatibility with circuit breakers. After completing the installation, have a professional inspect the setup to ensure compliance and safety.
Repairs that Require Professional Electricians
While many electrical projects can be tackled on a DIY basis, some repairs mandate the expertise of a professional electrician for safety and compliance. One such scenario is dealing with aluminum wiring, common in older homes, which requires specialized techniques and knowledge to handle properly.
Additionally, if you encounter issues with the main electrical service or experience frequent breaker trips without an obvious cause, it’s wise to consult a professional. These signs might indicate electrical faults that could compromise the safety of your home, requiring the analytical expertise of a trained electrician.
Lastly, integrating complex systems like home automation or advanced security systems can involve more intricate wiring and programmatic setups, best handled by professionals to ensure the smooth operation and warranty compliance of these sophisticated features.
Next Steps
| Project | Key Skills Required | DIY Feasibility | When to Seek Professional Help |
|---|---|---|---|
| Installing New Electrical Outlets | Basic wiring and circuit knowledge | High | If local codes require |
| Wiring a Room Addition | Intermediate understanding of circuits and layout planning | Medium | Complex layouts or permits required |
| Fixing a Short | Elementary troubleshooting | High | Persistent issues or uncertainty |
| Installing a Dedicated Circuit | Familiarity with circuit breakers and wiring | Medium | New panel installation |
| Upgrading Your Electrical Panel | Advanced electrical understanding | Low | Strongly recommended for all upgrades |
| Repairs requiring Professional Electricians | Advanced troubleshooting and repair | Low | Aluminum wiring, major upgrades, code compliance |

