
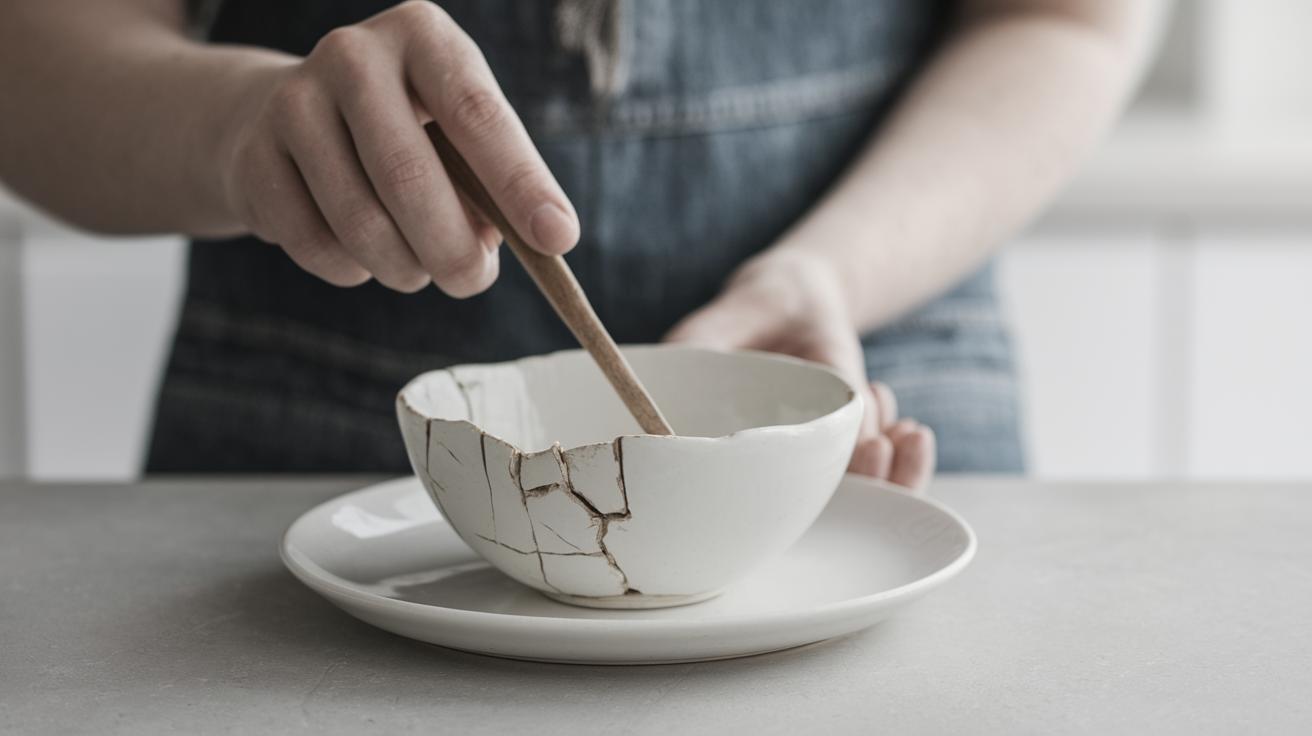
Introduction: Mending and Filling Broken Ceramic and Pottery
Broken ceramic and pottery items hold not only monetary value but often sentimental significance as well. Fortunately, with some patience and the right materials, these cherished items can be restored to their former glory. This blog post delves into a detailed, step-by-step guide on how to repair cracked ceramic items using various methods and tools. From gathering the necessary materials to applying adhesives and fillers, we cover every aspect of the repair process to ensure your ceramics are beautifully restored. Furthermore, we will explore the art of Kintsugi, which celebrates the beauty of mending. By embracing these techniques, you will not only learn to repair damaged ceramics but also discover the joy and satisfaction of breathing new life into once-broken pieces.
Step 1: What You Will Need for Pottery Mending Steps?
Before embarking on your ceramic repair journey, it is crucial to gather all necessary materials. This typically includes a 2-part epoxy adhesive, which is essential for creating a strong bond between the broken pieces. Additionally, you will need a PC-11 epoxy filler to handle any gaps or chips that may have developed during the breakage. Ensure you also have sandpaper, usually ranging from medium to fine grit, to help smooth out surfaces and create even bonds.
You should also equip yourself with some basic tools like a small brush or spatula for applying the adhesives and fillers. A small bowl of water can be handy for cleaning or smoothing purposes. Protective gloves and goggles are highly recommended to protect yourself from any accidental exposure to adhesives or fillers during the repair process.
Step 2: Before Start of Ceramic Mending
Preparing your workspace is an essential step before you commence mending your ceramic pieces. Make sure your workspace is well-ventilated to avoid inhaling any fumes from the adhesives. Lay down some newspaper or a drop cloth to protect surfaces from any spills or accidents. Have all your materials within arm’s reach to ensure a smooth workflow as you progress through the repair process.
Before you begin applying any materials, thoroughly clean all the ceramic pieces and remove any dust or debris from the edges of the break. This will ensure better adhesion and a more seamless repair. Dry the pieces completely and try to fit them together to check if all the broken parts are accounted for and align correctly.
Step 3: Applying the 2-part Epoxy to the Broken Pottery Bowl
Once your workspace and materials are prepared, it’s time to apply the 2-part epoxy adhesive to the broken pottery. Mix the adhesive components according to the manufacturer’s instructions, typically involving equal parts of resin and hardener. Use a toothpick or a small brush to apply a thin layer of epoxy to one side of each broken piece.
Be sure to apply the adhesive sparingly to avoid excess epoxy squeezing out of the joints once the pieces are pressed together. Ensure all edge surfaces are covered to enable a strong bond. The mixed epoxy will likely have a limited working time, so proceed promptly and efficiently once mixed.
Step 4: Place Broken Ceramic Pieces in Their Permanent Location
Carefully align the pieces of your broken ceramic item and press them together, ensuring they fit snugly and accurately in their original positions. You may need to hold the pieces for a few minutes to allow the adhesive to begin setting. Alternatively, use some light clamping or rubber bands to hold them in place.
Take care to align the edges precisely to minimize visible seams and facilitate better blending with fillers later on. Allow adequate time for the adhesive to cure as per the instructions provided by the epoxy manufacturer; this is important for achieving optimal strength in the bond.
Step 5: Cementing Additional Pieces
If your ceramic item has multiple broken pieces, repeat the epoxy application process methodically for each segment. Starting with one section and allowing it to set before moving on to the next can be an effective strategy. This prevents the displacement of already set pieces while you continue your work on others.
Ensure each piece is carefully placed to maintain the integrity of the item’s original shape and design. Take your time during this stage, as an imprecise placement can lead to a misshaped or unstable repair, which would necessitate additional adjustments and potential retries.
Step 6: Using Clay for Securing Attached Pieces in Place During Curing Duration
To further stabilize your broken ceramic as the adhesive cures, you can use small amounts of clay to secure the pieces in place. This can be particularly useful when working with irregularly shaped items or pieces that are hard to keep steady. Molding clay can be positioned around the base or joints to provide extra support.
This method acts as a temporary brace, preventing undue pressure or movement that might weaken the bond. Be sure the clay does not stick to the epoxy as it cures, especially if you plan to reuse it for other pieces. Keeping these supports in place until the adhesive has fully cured is advisable.
Step 7: Removing Excess Cured Clear Epoxy Adhesive
After the epoxy has fully set, it’s time to address any excess adhesive that may have seeped from the joints during application. Use a utility knife or a sharp blade to carefully trim away any hardened excess epoxy. This step requires a delicate hand to avoid accidentally scratching the ceramic surface or disturbing the repaired joint.
Follow up with gentle sanding using fine-grit sandpaper to smooth out the repaired edges and joints. This not only creates a uniform surface but also improves the adherence of fillers or paints, should you decide to apply them later on in the process.
Step 8: What You Will Need for Filling Cracks, Chips and Repair Lines
With the main structure restored, you can focus on filling any cracks, chips, or visible repair lines. Here, a PC-11 epoxy filler is particularly effective due to its ability to bond well with ceramic materials and form a durable fill. It’s advisable to have a mixing board and a spatula for applying the filler.
As with adhesives, protective gloves and a well-ventilated area remain important during this stage. Additionally, consider wearing a mask if you’re sensitive to the potential fumes that some fillers can emit during application or curing.
Step 9: Applying PC-11 Epoxy Filler to Gaps
Use the spatula to mix the PC-11 epoxy filler components until you achieve a consistent texture. Applying the filler is best done with precision tools like a spatula or fine brush, filling the cracks and gaps left by the breakage and ensuring the surface is as smooth as possible.
Fill any void dealing carefully to avoid air bubbles that could compromise the integrity of your repair. When filling larger gaps, multiple layers may be necessary to build up the necessary thickness. Allow each layer to set partially before adding another for best results.
Step 10: PC-11 Filler Epoxy Curing Process
Once applied, the filler will need time to cure. Follow the product guidance regarding curing times, which can vary depending on thickness and ambient conditions. Maintaining a stable environment without fluctuations in temperature or humidity will aid in a successful curing process.
Avoid disturbing the ceramic piece to ensure that the filler remains in place precisely where you intend. Proper curing is imperative for achieving the solid basis needed for the next step, where you will sand and finish the repaired surface.
Step 11: Sanding and Smoothing Vessel’s Surfaces
After curing, inspect the filled areas to identify any rough patches or uneven surfaces. Use medium-grit sandpaper to gently smooth these areas down, gradually transitioning to fine-grit sandpaper for a smoother finish. Circular motions can help in achieving an even surface without flat spots.
Be cautious not to over-sand the area, which might expose the repair line or disturb surrounding areas of the ceramic. The goal is to create a seamless transition that minimizes the visibility of any repairs once painted or glazed.
Step 12: Final Steps Before Painting the Repaired Pot
With the surface prepped, you can now focus on final cleaning before painting. Remove any residue from sanding with a damp cloth and let it dry completely. This ensures that no particles interfere with paint adhesion and the final finish of your ceramic piece.
If your piece had a smooth or glossy finish originally, you might also consider applying a coat of primer to create a suitable base for the paint. Priming not only enhances adhesion but also ensures a more vibrant and consistent color application.
Step 13: Painting and “cold Glazing” the Bonded and Filled Pot
Select paints that closely match the original color scheme or use this opportunity to introduce a new aesthetic to your piece. Acrylic paints are a common choice due to their versatility and ease of use. Apply the paint in thin, even layers, allowing each layer to dry thoroughly before adding additional coats.
For a final touch, a “cold glaze” can be applied for a glossy finish. This may be done with a clear acrylic spray or a brush-on gloss medium. This not only replicates the shine of kiln-fired glazing but also offers extra protection for the surface of your ceramic work.
Step 14: Ceramic and Sculpture Studio Tour
Exploring a ceramic and sculpture studio can provide inspiration and insight into advanced mending techniques and practices. Many studios offer workshops or tours where you can see professional artists at work, working through similar repair processes on larger-scale projects.
Such a tour provides a behind-the-scenes look at the intricacies involved in ceramic repair and restoration, expanding your understanding of materials and techniques beyond the basics covered here. It can also be a great opportunity to learn about the sculptural and artistic potential of ceramics.
Step 15: Kintsugi Repair With Gold – How It Is Done and About Kintsugi Metaphor
The art of Kintsugi, or “golden joinery,” is a traditional Japanese technique that highlights rather than hides the repairs of broken pottery, often using gold, silver, or platinum lacquer. This process does not only mend the pottery but also transforms it into something more valuable and beautiful, celebrating its history and imperfections.
Kintsugi is more than a technique; it’s a metaphor for resilience and the beauty of embracing imperfection. By learning about this art, you can choose to repair your ceramic item in a way that tells a story and enhances its uniqueness, rather than simply restoring it to its original appearance.
Step 16: See a Similar Ceramic Repair Step by Step Video
Watching a video demonstration of these ceramic repair techniques can reinforce your understanding and provide additional context and visual guidance. There are numerous online resources and tutorials available that delineate these steps in detail, accompanied by expert tips and tricks for successful repairs.
These visual aids can be particularly helpful for visual learners or those new to ceramic repair, offering clearer insight into the process and expected outcomes. They also provide a reference for repeated viewing should you need to refresh your memory on specific techniques.
More Lessons and Tutorials
There’s a wealth of further learning materials available for those eager to delve deeper into the world of ceramic repair and restoration. Whether you’re honing fundamental skills or exploring advanced techniques like Kintsugi, numerous guides, books, and courses can support your journey.
Engaging with communities, forums, and social media groups dedicated to ceramic art and repair can further enhance your learning experience, connecting you with like-minded individuals and a repository of practical advice and encouragement.
More Lessons and Tutorials
Additional tutorials and resources can provide continued learning pathways and challenge you to expand your capabilities. Explore subjects ranging from basic pottery painting and glazing to advanced sculptural techniques and ceramic engineering.
By continuously educating yourself, you not only improve your repair skills but also open possibilities to create your own unique pieces, combining craftsmanship with creative expression.
| Section | Brief Summary |
|---|---|
| Introduction | Overview of repairing broken ceramic and pottery, introducing techniques and materials. |
| Materials Needed | List of required materials and tools for mending ceramics. |
| Preparation | Steps to prepare workspace and ceramic pieces for repair. |
| Applying Epoxy | Guide on using 2-part epoxy adhesive for bonding broken ceramic pieces. |
| Cementing Pieces | Tips on sequencing and securing multiple broken pieces. |
| Using Clay Supports | Utilizing clay for additional stability during the curing of adhesive. |
| Removing Excess Adhesive | Trimming and cleaning up excess epoxy to prepare for finishing steps. |
| Filling Cracks | Instructions for using PC-11 epoxy filler to address gaps and chips. |
| Filler Curing | Details on the curing process for filler applications. |
| Sanding & Smoothing | Guide to smoothing out filler surfaces for uniform appearance. |
| Preparation for Painting | Final cleaning and priming steps before painting the repaired area. |
| Painting & Glazing | Techniques for painting and finishing with a cold glaze. |
| Studio Tour | Benefits of visiting ceramic and sculpture studios for inspiration. |
| Kintsugi Repair | Exploration of Kintsugi as both a repair method and a metaphor. |
| Video Tutorials | Recommendation to watch video demonstrations for visual guidance. |
| Additional Tutorials | Encouragement to pursue further learning and development in ceramic repair. |

