
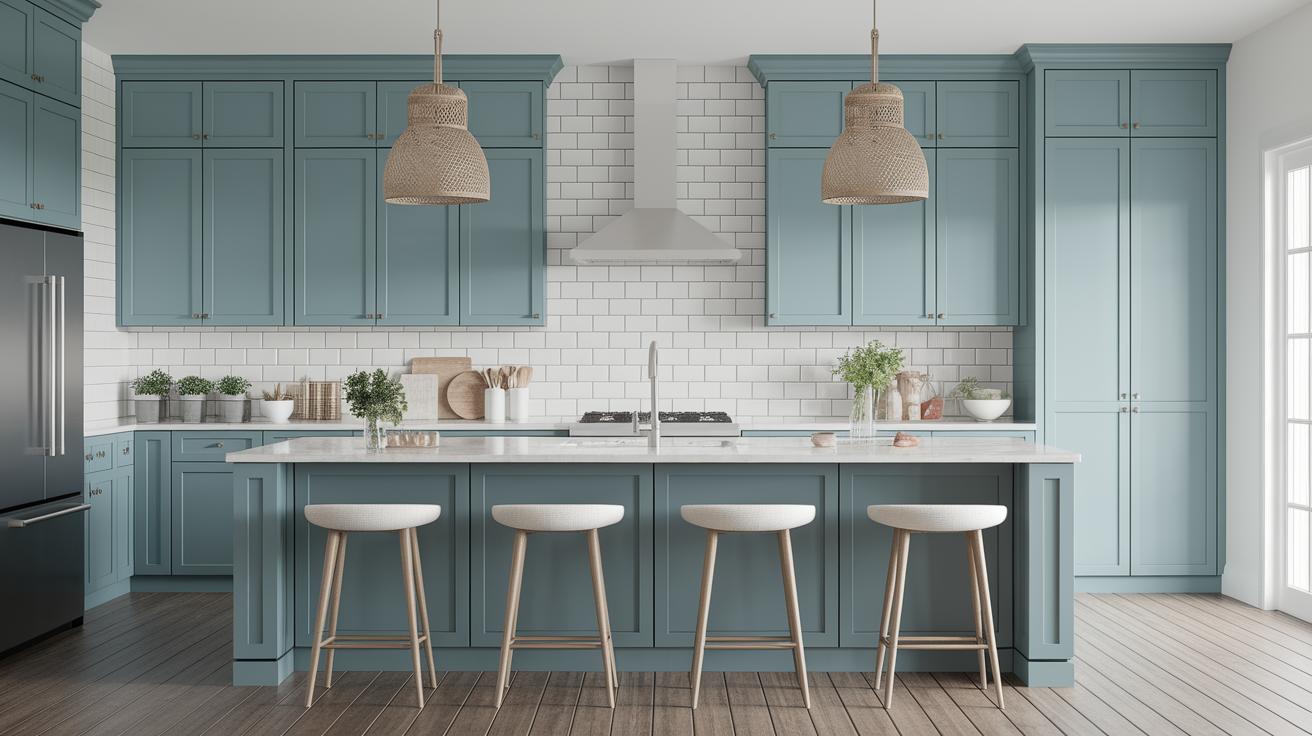
How to Renovate an Outdated Kitchen Cabinet
Renovating your kitchen cabinets can breathe new life into your cooking space without the need for a complete kitchen overhaul. This guide explores ten innovative ways to update your outdated kitchen cabinets, combining functionality and aesthetics. From repainting techniques like crackle, distressed, antiqued, and high gloss finishes, to more advanced options such as refacing cabinets and adding features like pull-out shelves or undercabinet lighting, this comprehensive guide covers practical steps tailored to enhance your kitchen’s look and efficiency. Additionally, learn how to creatively re-purpose old cabinets into stunning sideboards or butcher block islands, add stylish crown molding, or even expand your storage options with additional cabinets. Let’s dive into these inspiring projects to transform your kitchen into a space you’ll love and enjoy for years to come.
1. Paint Kitchen Cabinets
Crackle
Crackle painting is a technique that provides a charming, rustic appeal to kitchen cabinets by creating a textured look with contrasting layers of paint. Begin by applying a base coat that will show through the cracks. Once the base coat is dry, apply a layer of crackle medium, a substance that induces the cracking effect. After the crackle medium dries, apply the topcoat. As it dries, the crackle medium will cause the topcoat to shrink and reveal the base color beneath, producing beautiful, textured fractures.
This method is ideal for those aiming for a shabby chic or farmhouse aesthetic. It offers a sense of depth and character, protecting the wood while allowing homeowners to personalize their kitchen to reflect a more lived-in vibe. The crackle method is one of many creative painting techniques that can turn ordinary cabinets into conversation pieces.
Distressed
Distressing adds rustic charm and a sense of history to kitchen cabinets. This process involves intentionally aging the cabinet’s surface to display wear and tear. Begin by sanding the cabinet to remove the smooth finish, then apply a base coat of paint. Once it’s dry, apply a topcoat in a different color. Use sandpaper to gently sand off patches of the topcoat, particularly around edges and corners, to reveal the underlying color.
The distressing technique is favored for creating a farmhouse or cottage-styled kitchen. It’s a budget-friendly option that requires minimal materials, yet it offers significant impact. It can be customized by varying the degree of distress, allowing you to create a subtle or dramatic aged effect based on your personal style.
Antiqued
Antique glazing lends a vintage appeal by giving cabinets a classic look reminiscent of aged antiques. This involves applying a glaze over a base coat of paint. After painting your cabinets with the desired color and allowing it to dry, apply a glaze mixed with a color slightly darker than the base coat. The glaze is then wiped off with a cloth or sponge, leaving a tint that highlights crevices and detailing.
The antiqued effect provides depth and richness, particularly to cabinets with ornate detailing. It’s a favorite amongst those who appreciate the elegance and timelessness of traditional design. This method not only enhances cabinet aesthetics but also provides a protective layer, extending the longevity of your kitchen furniture.
High Gloss
High gloss finishes are perfect for those seeking a modern, sleek kitchen look. This style reflects light, making the space appear brighter and larger. Begin by sanding your cabinets to ensure a smooth surface, then apply a primer. Finish with a high gloss paint or lacquer for a mirror-like shine.
While the high gloss technique is more labor-intensive due to its requirement of a flawless surface, the end result is strikingly chic and contemporary. It’s particularly useful in small kitchens, as the reflective surfaces help to visually expand the area. Regular cleaning is required to maintain its shiny appearance, ensuring your kitchen remains a sparkling centerpiece.
2. Reface Kitchen Cabinets
Refacing kitchen cabinets is a cost-effective alternative to replacing them entirely. This process involves covering the cabinet boxes with veneer or laminate and installing new doors and drawer fronts, along with new hardware. Start by removing the current cabinet doors and drawers, then measure and cut veneer sheets to fit the frontline of your cabinet boxes.
Refacing can dramatically alter the appearance of your kitchen, giving it an updated and sophisticated look with relatively minimal investment. This is perfect for homeowners looking to refresh their kitchen’s style while maintaining the existing layout. The range of veneer and door options available means you can tailor your kitchen’s aesthetic to reflect traditional, modern, or any style in between.
3. Install a Pull-Out Cabinet Shelf
A pull-out cabinet shelf is a clever renovation that increases kitchen efficiency by making items at the back of cabinets more accessible. To install, measure the interior width and depth of your cabinet, purchase a suitable pull-out shelf kit, and follow the manufacturer’s instructions for assembly and installation. Most kits come with metal glides and all necessary hardware for simple DIY installation.
Incorporating pull-out shelves optimizes storage and reduces clutter, allowing you to utilize every inch of your cabinet space effectively. This upgrade is especially beneficial for deep and lower cabinets, making it easier to reach pots, pans, and pantry items without having to delve into the recesses of your cabinet. It not only enhances organization but also eases the strain on your back from bending and reaching.
4. Put in Undercabinet Lighting
Installing undercabinet lighting is a practical and aesthetic enhancement for your kitchen. It illuminates countertops, enhancing visibility for cooking tasks and creating a warm ambiance. Select from options like LED strips, puck lights, or rope lights, each offering various lumen outputs and energy efficiencies.
This lighting feature highlights your kitchen’s workspaces and can be strategically placed to emphasize backsplash designs or countertops. It’s an inexpensive upgrade that bears significant impact, transforming your kitchen from ordinary to extraordinary. The installation process is straightforward, especially with adhesive-backed lights, and can be completed with basic electrical skills.
5. Build a Butcher Block Island to Replace Cabinets
Replacing lower cabinets with a butcher block island introduces a functional and aesthetic centerpiece to your kitchen. Butcher block islands offer a versatile surface for cooking and dining, rich in warmth and character. Begin by choosing your butcher block dimensions, sourcing quality wood, and assembling the blocks atop a sturdy frame or existing base.
These islands serve as focal points, injecting rustic elegance into modern kitchens or enhancing the coziness of farmhouse styles. A well-constructed butcher block island can also increase kitchen usability, offering additional workspace and storage beneath. Sealing the wood periodically maintains its durability and appearance, ensuring long-lasting appeal and function.
6. Build a Sideboard from Kitchen Cabinets
Transforming old kitchen cabinets into a sideboard is an innovative way to repurpose materials and add unique storage outside the kitchen. Sideboards enhance dining rooms by providing additional serving and storage space. Start by disassembling your cabinets, then rearrange and assemble them into a horizontal format more suitable for your dining area.
This project requires some woodworking skills for cutting and reassembling, but the end product can be tailored to suit your space and style preferences. Adding a fresh coat of paint or stain and new hardware elevates the piece’s appearance, making it a harmonious extension of your home decor.
7. Build a Built-In Cabinet Window Seat
A built-in window seat, crafted from kitchen cabinets, provides a cozy nook for relaxation while optimizing available space beneath a window. Select cabinets that fit the width of your window area, then install them securely, reinforcing the top surface to support seating. Add a cushioning pad or custom-made seat cover for comfort.
This addition invites more natural light into your home and creates an inviting space for reading or enjoying a hot beverage. Its under-seat storage is perfect for tucking away books, blankets, or seasonal decor, blending utility with comfort seamlessly. Such projects personalize your living space, offering a delightful retreat within your home.
8. Add a Plate Rack With Your Kitchen Cabinets
Implementing a plate rack into your kitchen cabinetry introduces organization and charm, providing a functional display for frequently used dishes. Choose a cabinet section to convert and remove the interior shelf. Next, attach vertical dividers tailored to the depth of the cabinet, creating slots where plates can be easily slid in and out.
Plate racks offer easy access to everyday dishes while adding a decorative element to your kitchen. They are particularly useful in kitchens with limited overhead cabinet space, presenting an alternative storage solution. This enhancement blends practicality with style, giving your kitchen a vintage touch reminiscent of classic French country kitchens.
9. Add Cabinet Crown Molding
Crown molding is a classic way to elevate kitchen cabinets, imparting a touch of elegance and sophistication. Select a molding design that complements your kitchen’s style, then measure, cut, and secure it along the top edges of your cabinets using adhesive and finish nails.
This addition bridges the gap between your cabinets and the ceiling, offering a polished, finished look. It can make a striking difference, particularly in kitchens with high ceilings, accentuating the height and drawing the eye upward. Crown molding offers multiple styles, from modern, sleek designs to ornate classic patterns, allowing for tailored customization.
10. Add Storage With More Kitchen Cabinets
Expanding storage by adding more kitchen cabinets is a straightforward renovation with a significant payoff. Consider elevating your storage options by installing upper cabinets that reach the ceiling, adding base cabinets to unutilized spaces, or incorporating corner cabinets.
Additional cabinets improve kitchen functionality by reducing clutter and increasing organizing possibilities. Integrated storage solutions are particularly useful in smaller kitchens, where maximization of space is key. This practical enhancement ensures everything from small appliances to bulk groceries has a designated place, streamlining kitchen workflow and maintaining a neat, organized environment.
Next Up In Kitchens
The kitchen is more than just a functional area; it’s the heart of the home where style meets practicality. Continuous improvements and renovations can keep this space vibrant and functional. Consider exploring more up-to-date design trends or incorporation of smart technology to keep your kitchen always at its best.
Lessons Learned
| Renovation Method | Description |
|---|---|
| Paint Kitchen Cabinets | Use methods like crackle, distressed, antiqued, or high gloss to refresh cabinet surfaces with novel textures and looks. |
| Reface Kitchen Cabinets | Update cabinets with new veneers, doors, and hardware while retaining the layout. |
| Install a Pull-Out Cabinet Shelf | Add functionality and ease of access to existing cabinets. |
| Put in Undercabinet Lighting | Enhance lighting and ambience for improved visibility and style. |
| Build a Butcher Block Island | Create an attractive, functional centerpiece by replacing lower cabinets. |
| Build a Sideboard from Kitchen Cabinets | Repurpose old cabinets into a useful, elegant dining room addition. |
| Build a Built-In Cabinet Window Seat | Create a cozy, light-filled nook with storage underneath a window. |
| Add a Plate Rack With Your Kitchen Cabinets | Introduce organizational elegance and vintage charm to your cabinetry. |
| Add Cabinet Crown Molding | Enhance cabinet aesthetics with stylish top-edge detailing. |
| Add Storage With More Kitchen Cabinets | Increase storage capacity by integrating additional cabinetry. |

