
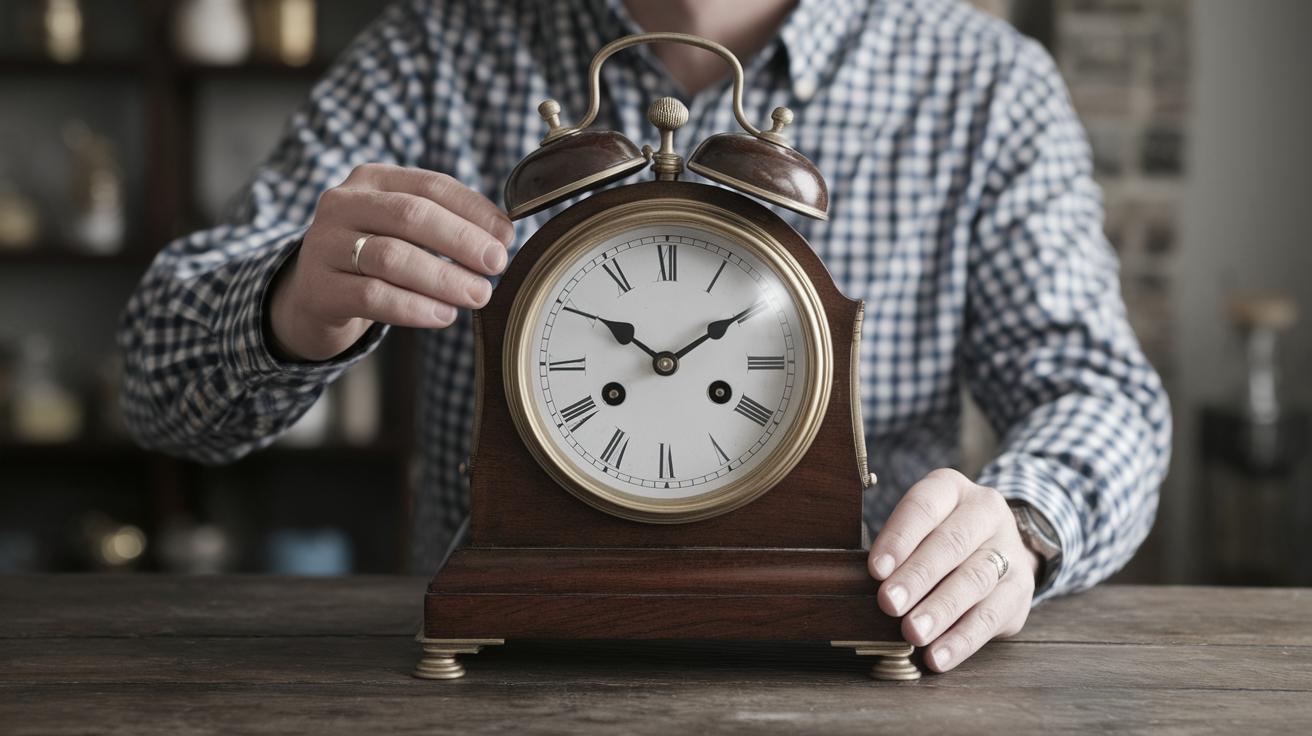
Introduction: Resurrecting Vintage Clocks
Vintage clocks are more than just timekeeping devices; they are exquisite pieces of art that tell stories of bygone eras.
Restoring these timeless treasures combines elements of precision mechanics with aesthetic artistry.
Whether you’re a seasoned horologist or a curious enthusiast, learning how to repair and restore old clocks can be a gratifying and educational experience.
In this blog post, we’ll walk you through the fundamental steps involved in bringing these mechanical marvels back to life,
by addressing common issues like misaligned gears, bent components, cleanliness, and cosmetic restorations.
Additionally, we’ll equip you with tips for sourcing vintage clocks and recognizing a worthy restoration project.
Let’s embark on this intricate journey of reviving the timeless beauty of vintage clocks.
Step 1: Misaligned Gear Trains
At the heart of every clock is its gear train, a series of gears that transmit power from the mainspring or weight to the clock’s hands.
Misalignment in these gears can lead to inefficient timekeeping or complete failure. As you begin inspecting the gear train,
pay attention to any visible gaps or irregular movements in the gears’ meshing. Use a magnifying glass for a closer look,
as these components can often be delicate and small.
Correcting misaligned gear trains typically involves adjusting the positioning of the gears.
This can require specialized tools, like a gear puller or an alignment jig, to carefully reposition the gears without causing further damage.
Patience is key, as each adjustment can have significant effects on the clock’s overall performance.
Reassembly should be done meticulously, regularly checking the gear engagement to ensure smooth operation.
Step 2: Sometimes Things Get Bent
Vintage clocks often suffer from bent components, especially if the clock has been dropped or mishandled.
Bent balance wheels, pendulums, or even hands are common issues that can obstruct proper functioning.
When addressing a bent component, first try to identify the source and severity of the bend.
Gently manipulating the bent part back into shape requires a delicate touch and sometimes heat application or specialized tools such as brass pliers.
If the damage is too severe, it might be necessary to replace the entire piece.
It’s important to remember that forcing a bend back into place can cause cracking or additional stress elsewhere, so proceed with caution.
In some cases, consulting a professional clock restorer might be the best course of action.
Step 3: Sometimes Things Get Dirty and Dry
Dust, grime, and dry lubrication are common culprits of old clock malfunctions.
Over time, these elements can obstruct the movement of gears and other moving parts,
leading to the need for cleaning and re-lubrication. Start by gently disassembling the clock, documenting each step to aid in reassembly.
Use a soft brush and a cleaning solution specifically designed for delicate clock parts to remove buildup. Ultrasonic cleaners can prove particularly effective for intricate components.
Once cleaned, apply high-quality clock oil to all moving parts, ensuring not to over-lubricate as this can attract more dust and dirt.
Regular maintenance of oiling every few years can help extend the life of your clock’s mechanisms.
Step 4: Sometimes Parts Have Fallen Off Inside the Clock
Over the years, it’s common for small parts to become dislodged inside a clock.
Springs, gears, or screws might fall from their intended position and lead to functional issues.
Carefully inspect the clock’s interior, looking for any components that appear out of place or missing.
Once identified, deduce where the part originates and reattach it using appropriate methods and tools.
In cases where the part is damaged or inaccessible, consider reaching out to a professional restorer or sourcing replacement parts from specialized suppliers.
Step 5: Clock Runs Fine, But the Case Is a Disaster
Sometimes a clock’s internal workings are sound, but its exterior leaves much to be desired.
Restoring the clock’s case is as much an art form as it is a technical challenge.
Begin by assessing the material of the case—wood, metal, or another material—and select your restoration products accordingly.
For wooden cases, sanding and refinishing can restore luster, while metal cases may require polishing or de-rusting solutions.
Pay attention to maintaining the authenticity and character of the vintage piece, opting for methods that preserve its original craftsmanship as much as possible.
Step 6: Sometimes You Just Can’t Fix It….
Despite best intentions and efforts, some clocks may be beyond personal repair capabilities.
Components may be too worn, or damage too severe, leaving restoration attempts futile.
In such scenarios, consider consulting a professional clock restorer who can provide expert assessment and potential solutions.
Alternatively, embrace the clock’s current state and cherish it as a static piece of history.
”
Step 7: Other Tips
Successful clock restoration involves more than just mechanical fixes.
Stay informed by reading literature, joining clock enthusiast groups, and participating in workshops and seminars.
Operating with patience and understanding of the craft can boost your restoration success.
Additionally, exercising patience and a willingness to learn from each project will enhance your skill set and appreciation for these timepieces.
Documenting each restoration process can serve as both a guide for future projects and a historical record of your work.
Step 8: Where to Find Clocks & What to Look For
Finding vintage clocks for restoration projects requires a keen eye and some effort.
Explore places like antique shops, flea markets, online auctions, and estate sales for potential finds.
Initially, focus on the clock’s mechanical condition. A clock with a reliable interior, even if the exterior is worn, is often a more straightforward restoration project.
Inspect for completeness, as missing parts can be costly and difficult to replace.
A thorough assessment will better prepare you for the restoration journey and increase your chances of a successful project.
Next Steps
| Step | Focus |
|---|---|
| Step 1 | Addressing misaligned gear trains |
| Step 2 | Fixing bent components |
| Step 3 | Cleaning and re-lubricating |
| Step 4 | Reattaching dislodged parts |
| Step 5 | Restoring the clock case |
| Step 6 | Identifying irreparable clocks |
| Step 7 | Additional tips and resources |
| Step 8 | Sourcing and evaluating clocks |

