
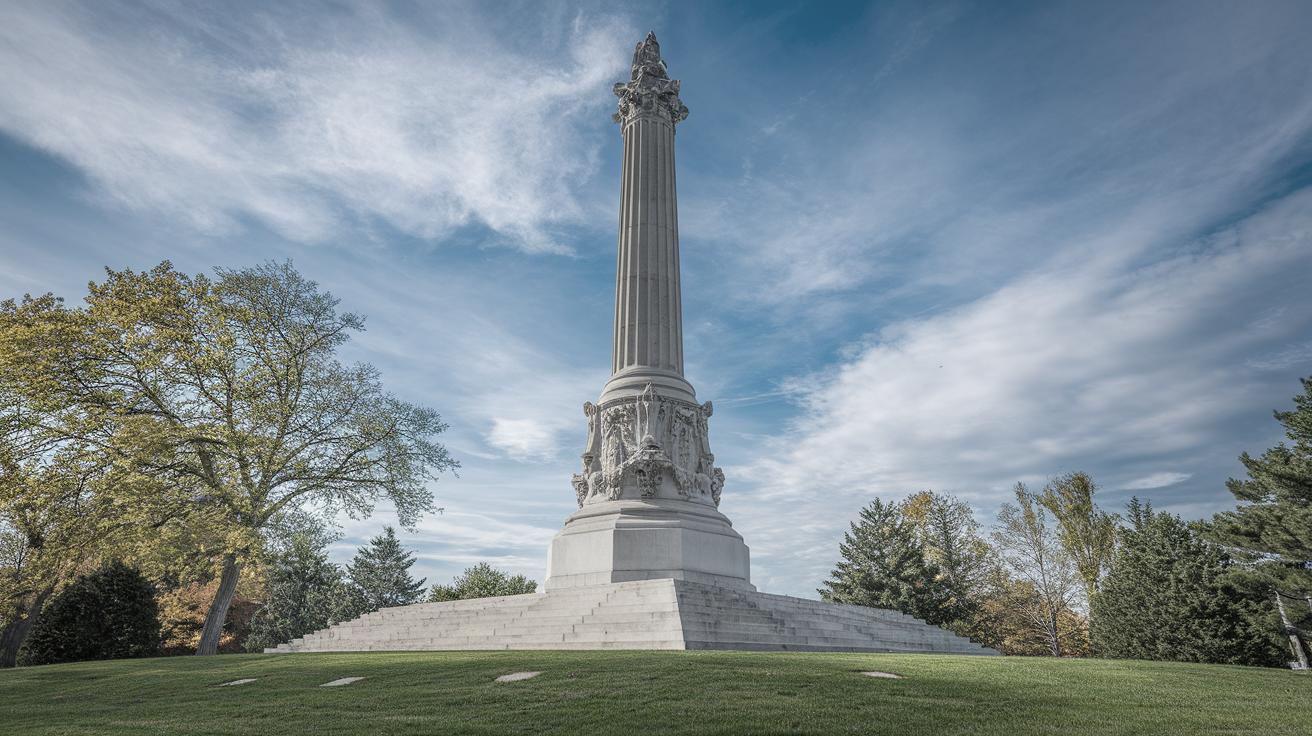
Restoring Outdoor Monuments: A Comprehensive Guide
Restoring outdoor monuments, be it an exquisite garden statue or a cherished stone relic, is an art that demands patience, skill, and a keen eye for detail. This guide will walk you through the intricate process of rejuvenating these monumental treasures, ensuring they stand steadfast against the elements for generations to come. From preparing the stone surface to meticulously crafting missing parts with putty, this article covers everything you’ll need for a successful restoration. Additionally, we’ll explore sourcing and selecting the right garden statue, common restoration hurdles, and the art of cleaning stone ornaments. For garden enthusiasts and preservationists alike, this is your go-to resource for all things related to monument restoration.
An expert guide to repairing garden statues
The restoration of garden statues is an endeavor that combines artistic skill with scientific understanding. These statues, often exposed to the whims of nature, require careful attention to detail. Whether your statue is an ancient stone guardian or a modern synthetic creation, it is essential to understand its structure and material composition. This knowledge forms the foundation upon which the restoration process is built. An expert approach is not merely about aesthetics but ensuring the longevity and historical integrity of these statues.
Assessing the condition of a statue is the first critical step. This involves evaluating any structural damage, surface erosion, or other issues that have arisen over time. Documentation through photographs and notes is beneficial for creating a restoration plan. From there, skilled hands can begin the task of bringing these stoic figures back to their former glory, using techniques honed over generations of conservators.
You will need:
Restoring a statue requires an array of tools and materials. Essential items include a soft-bristle brush for cleaning, a selection of chisels and files for shaping, and fine-grade sandpaper for smoothing surfaces. Cleaning agents should be gentle and suitable for the specific material of the statue to avoid any damage.
For repairs, epoxy resin or specialized stone adhesive will be necessary to hold pieces together securely. Protective equipment such as gloves and safety goggles are also vital to ensure your safety during the restoration process. Gather these tools in a well-organized space to streamline your workflow.
1. Clean up statue’s stone surface
Cleaning is the first step in any restoration project. Begin by using a soft-bristle brush to remove loose dirt and grime. A gentle, non-abrasive detergent mixed with water can help remove stubborn dirt without harming the stone. Rinse the statue with clean water and allow it to dry thoroughly before moving on to the next stages.
It’s crucial to avoid high-pressure washers, as the force can damage delicate stone surfaces. Instead, take your time to gently scrub away the accumulated debris. This care not only prevents damage but also allows you to observe the statue closely and identify any potential issue spots needing additional focus during restoration.
2. Make good the unsightly gap
Unsightly gaps and seams can occur in statues over time due to environmental factors or previous restoration attempts. To address this, carefully clean the area around the gap and ensure it’s free of any debris or loose materials. Using a color-matched filler, gradually fill in the gap. A small palette knife can assist in accurately applying and smoothing the filler into the affected area.
After application, leave the filler to cure as per the manufacturer’s instructions. Once dry, gently sand the area to achieve a seamless transition between the original stone and the repaired section. This meticulous attention to detail ensures that the repaired area blends seamlessly with the rest of the statue.
3. Prepare the Milliput putty
Milliput putty is an invaluable material in the world of restoration. It is especially useful for reconstructing missing parts or detailing. To prepare Milliput putty, take equal parts from each stick and knead them together until they are thoroughly mixed, achieving a uniform color.
The putty must be worked into a pliable form to allow for easy application and shaping. This preparation phase is essential for ensuring that the material adheres properly and retains its shape during the curing process. Proper preparation also prevents any potential weak spots in the repaired area.
4. Smooth the putty into shape
Once the Milliput putty is ready, use it to fill gaps or repair damaged sections of the statue. Carefully apply the putty and use sculpting tools to mold it into the desired shape. Smooth the surface with water to prevent fingerprints or tool marks.
It’s essential to work swiftly yet carefully, as the putty begins to harden after several hours. This stage of smoothing and shaping sets the basis for a professional and aesthetically pleasing finish, giving the statue a seamless appearance once everything is cured and dried.
5. Make up a missing part with putty
The challenge of a missing part in a statue can be overcome by sculpting an entirely new piece using Milliput putty. Begin by building a basic shape using the putty, and then gradually refine it to match the specific details of the original statue.
Use reference materials, such as photographs or sketches, to help capture the part’s intricate details. Patience and precision are key during this process. Allow the putty to dry completely before any necessary final touches or adjustments, ensuring it can be integrated seamlessly into the statue’s overall form.
6. Fix the hairline crack in the stone
Hairline cracks, often caused by freeze-thaw cycles, can gradually expand if left untreated. To repair these, inject a suitable stone adhesive or epoxy resin into the crack. Use a syringe for precision and ensure the adhesive penetrates the full depth of the crack.
Once filled, clean any excess adhesive from the statue’s surface, and allow the repair to cure fully. This small but critical intervention can halt the progression of further damage, preserving the structural integrity of the statue.
7. Apply the adhesive with care
Applying adhesives requires careful handling. Select an adhesive compatible with the statue material, whether it be stone, metal, or resin. Use a brush or applicator to apply the adhesive in a thin, even layer, ensuring maximum bonding with minimal mess.
The curing time can vary, so it’s vital to secure the repaired pieces properly as the adhesive sets. Clamping or restraining the pieces in the correct alignment is crucial to achieving a seamless and durable repair.
8. Encourage an antique finish
To ensure that a restored statue maintains its historic character, you may want to apply techniques that encourage an antique finish. Using a patina solution or specific stains can help blend new repairs with the original material, creating a cohesive look.
Trialing on an inconspicuous part of the statue or sample materials is recommended before applying to visible areas. This practice prevents any accidental discoloration. The goal is to maintain the statue’s original aesthetic charm while enhancing its durability.
How to source reclaimed garden statues
Sourcing reclaimed garden statues is an environmentally friendly option that also provides a unique charm to your outdoor space. Begin your search in architectural salvage yards or specialized antique shops, where you can find a variety of options ranging from classical to whimsical designs.
These venues offer the opportunity to discover statues with historical significance or personal stories, making them more than just decorative elements. Make sure to verify the authenticity and condition of the pieces to ensure they fit within your restoration goals and budget.
How to choose a garden statue
When selecting a garden statue, consider the aesthetic and thematic cohesion with your garden landscape. Factors like the statue’s size, style, and material should complement the existing elements of your outdoor space.
Durability is another key factor, especially in harsh climates, where certain materials may outperform others. Opt for statues that align with your long-term maintenance capabilities and personal taste to ensure they enhance your garden for years to come.
Common restoration issues
Common restoration issues include surface erosion, cracking, and biological growth like moss or lichen. These problems, if left unchecked, can lead to further deterioration. Recognizing these signs early allows for timely intervention using the methods discussed in this guide.
Environmental conditions also play a significant role in the degradation of outdoor statues. Regular monitoring and maintenance, including proper positioning away from water pooling or direct soil contact, can significantly extend a statue’s lifespan.
How to clean stone garden ornaments
To clean stone garden ornaments effectively, start with a soft-bristle brush to remove surface dirt. Use a mild, pH-neutral cleaner mixed with water to avoid damage from acidic or alkaline solutions. Gently scrub the surface, paying attention to intricate details where dirt often accumulates.
Rinse with plenty of water to remove any soap residue, and let the ornament dry naturally. Regular cleaning as part of your maintenance routine can preserve the stone’s natural beauty and prevent degrading influences from taking hold.
What should I pay for a garden statue?
The cost of a garden statue varies greatly depending on its material, age, and craftsmanship. Contemporary pieces might be more affordable, while ancient or rare statues can command significantly higher prices due to their historical value.
Consider both initial cost and potential restoration expenses when budgeting for a garden statue. A thoughtful investment can yield both aesthetic pleasure and financial appreciation, particularly if the statue holds artistic or historical significance.
Read more:
If you’ve enjoyed learning about restoring outdoor monuments, explore our additional resources on preserving garden aesthetics, historical architecture influence, and tips for creating personalized garden spaces.
Join our newsletter
Stay updated with the latest on garden restoration and aesthetic enhancement by joining our newsletter. Receive tips, insights, and exclusive content straight to your inbox, ensuring your garden remains a cherished space for reflection and beauty.
Lessons Learned
| Stage | Summary |
|---|---|
| Cleaning | Gently remove dirt using brushes and mild detergents for a pristine surface before repairs. |
| Filling Gaps | Use fillers to seamlessly repair and integrate damaged sections of the statue. |
| Patching with Putty | Prepare and apply Milliput for precise reconstructions of missing parts. |
| Crack Repairs | Address hairline cracks with precision adhesive to preserve structural integrity. |
| Antiquing | Apply patinas for a unified and historic finish that complements existing materials. |
| Sourcing | Identify and select statues that fit your garden’s theme and maintenance abilities. |

