
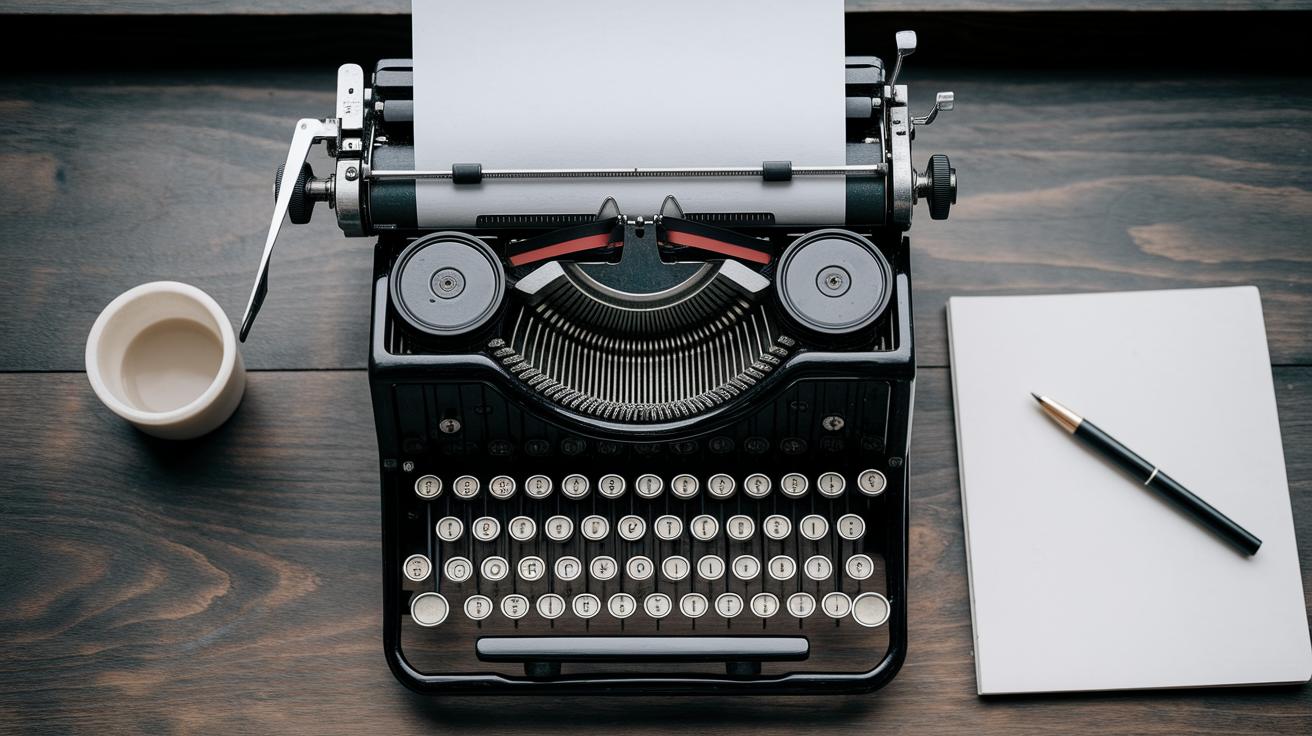
How to Restore a Classic Typewriter to Working Order
For enthusiasts and collectors, restoring a vintage typewriter is a satisfying endeavor that combines respect for historical craftsmanship with practical problem-solving. In today’s digital world, a typewriter offers a tactile connection to the past and a unique way for writers and hobbyists to express themselves. This guide will walk you through the essential steps to breathe new life into a classic typewriter. We’ll look at everything from assessing its current condition and gathering necessary tools, to cleaning and resolving common mechanical issues. Additionally, we’ll discuss the precautions you should take when disassembling your device and how to maintain its restored state effectively. Finally, we provide guidance on when professional help might be necessary and answer some frequently asked questions. Whether you’re a beginner or a seasoned restorer, these insights will ensure your typewriter’s functionality and longevity.
Assess the Condition of Your Typewriter
Before diving into the restoration, it’s crucial to evaluate your typewriter’s current state. Examine the exterior for obvious damages such as broken parts, rust, or missing keys. These visible signs can give you an idea of what needs immediate attention and whether sourcing replacement parts will be necessary. Next, perform a basic functionality check. Attempt to type with the machine, observing whether the keys stick, if the carriage moves correctly, and whether the ribbon advances.
Assess the interior mechanisms for signs of wear or corrosion. The age and make of your typewriter can impact what problems you’re likely to encounter. Some may have been stored in humid areas leading to rust, while others could have been used extensively, leading to worn-out parts. Be mindful that each aspect, from the platen roller to the escapement, could require specific attention.
Essential Tools and Lubricants for Typewriter Repair
Having the right tools and lubricants is essential in typewriter restoration. Basic tools such as a set of screwdrivers, needle-nose pliers, and tweezers will make small part manipulation easier. A dental pick can also be a handy tool for removing stubborn dirt in tight spaces. Additionally, a magnifying glass may be useful for a close inspection of intricate parts.
When it comes to lubricants, avoid household WD-40, which can ultimately attract dirt and dust. Instead, opt for machine oil or a specialized typewriter oil. These provide adequate lubrication without excessive buildup. In cases where rust is present, a rust remover might be necessary, but exercise caution as these solutions can be harsh.
Cleaning Your Typewriter
Cleaning is one of the most important steps in restoring a typewriter. Start by gently blowing away dust with compressed air before attacking more ingrained dirt and grime. Use a soft brush to sweep away debris, especially between keys and other hard-to-reach areas. Consider using a mild soap solution on a damp cloth for more intensive cleaning of the exterior casing.
For internal parts, carefully dismantle what you can, noting the position of each part for reassembly. Clean the typebars by wiping them with alcohol-soaked cotton pads, being sure to avoid excess moisture. Take this opportunity to replace the ribbon if it’s dried out or torn, which can impede the sharpness and clarity of typewritten text.
Common Typewriter Issues and How to Fix Them
Even restored typewriters can exhibit common issues such as key jamming or improper alignment. In addressing stuck keys, examine the segment for dust or dirt obstruction, and apply a small amount of lubricant if necessary. For misaligned typebars, gently adjust them with pliers by directing them back into their accurate position.
If you experience carriage problems, ensure the carriage rail is clean and properly lubricated. Misfiring of the escapement mechanism means checking for worn gear teeth or a damaged mainspring. This level of repair may require specialized part replacements acquired from typewriter repair shops or online resources.
Cautions for Disassembly
Disassembly can be the trickiest part of a typewriter restoration. Approach it with caution to avoid unnecessary damage. Always take photographs or notes during each step to remember the correct reassembly order. Avoid removing parts unless absolutely necessary to address a specific issue.
Note that certain parts are under tension, such as springs, which can easily dislodge or lose their tension if improperly handled. Use light pressure when manipulating these parts and never force any component back into place. Take the time to reference manuals or guides tailored to your typewriter model, which can be found online or at libraries.
Preventative Maintenance
To ensure the longevity of your restored typewriter, regular maintenance is key. After reassembling and testing for function, develop a maintenance routine that includes dusting the machine weekly and covering it when not in use. These practices minimize the accumulation of dust and debris, preventing future performance issues.
Maintain a consistent oiling schedule, usually every few months, applying minimal amounts to critical moving parts. This routine minimizes friction within the machine and prolongs its operability. Be sure to check for ribbon wear regularly and replace it when necessary.
When to Seek Professional Help
While many restorations can be done independently, some issues may require professional expertise. If the machine has serious mechanical problems or if a part replacement proves too complex, do not hesitate to reach out to a typewriter expert. Professional refurbishers can often access parts unavailable to hobbyists and have the experience to undertake intricate repairs safely.
If your typewriter is a valuable antique, you may prefer a professional’s touch to prevent accidental damage that could detract from its value or historic authenticity. Many typewriter aficionados find that investing in expert services enhances their restoration experience and the inherent value of their typewriter.
Frequently Asked Questions
How often should I oil my typewriter?
It’s generally recommended to oil your typewriter every few months, depending on use frequency. Over-oiling should be avoided as it can lead to buildup and attract dust.
Can I use household lubricants?
It is advised to use lubricants specifically designed for typewriters. Household lubricants like WD-40 can cause long-term issues by creating a tacky residue that attracts dirt and dust.
Final Thoughts
The restoration of a classic typewriter is both a rewarding and educational endeavor, offering insights into the technology of a bygone era and the satisfaction of hands-on restoration. By following these steps, enthusiasts can enjoy both the process and end result—a fully functioning piece of history. Embrace the journey and share your newly acquired knowledge with others interested in the art of typewriter restoration.
| Step | Key Points |
|---|---|
| Assessing the Condition | Inspect exteriors, test basic functions, note wear and corrosion. |
| Tools and Lubricants | Use gentle tools, avoid WD-40, prefer typewriter-specific oils. |
| Cleaning the Typewriter | Blow off dust, clean typebars with alcohol, replace ribbons when needed. |
| Common Issues and Fixes | Address jamming, alignment issues, and carriage malfunctions. |
| Disassembly Cautions | Document steps with photos, avoid forcing parts, understand model specifics. |
| Preventative Maintenance | Regular dusting, appropriate oiling schedule, routine ribbon checks. |
| Seeking Professional Help | Consult experts for complex repairs or valuable antiques. |

