
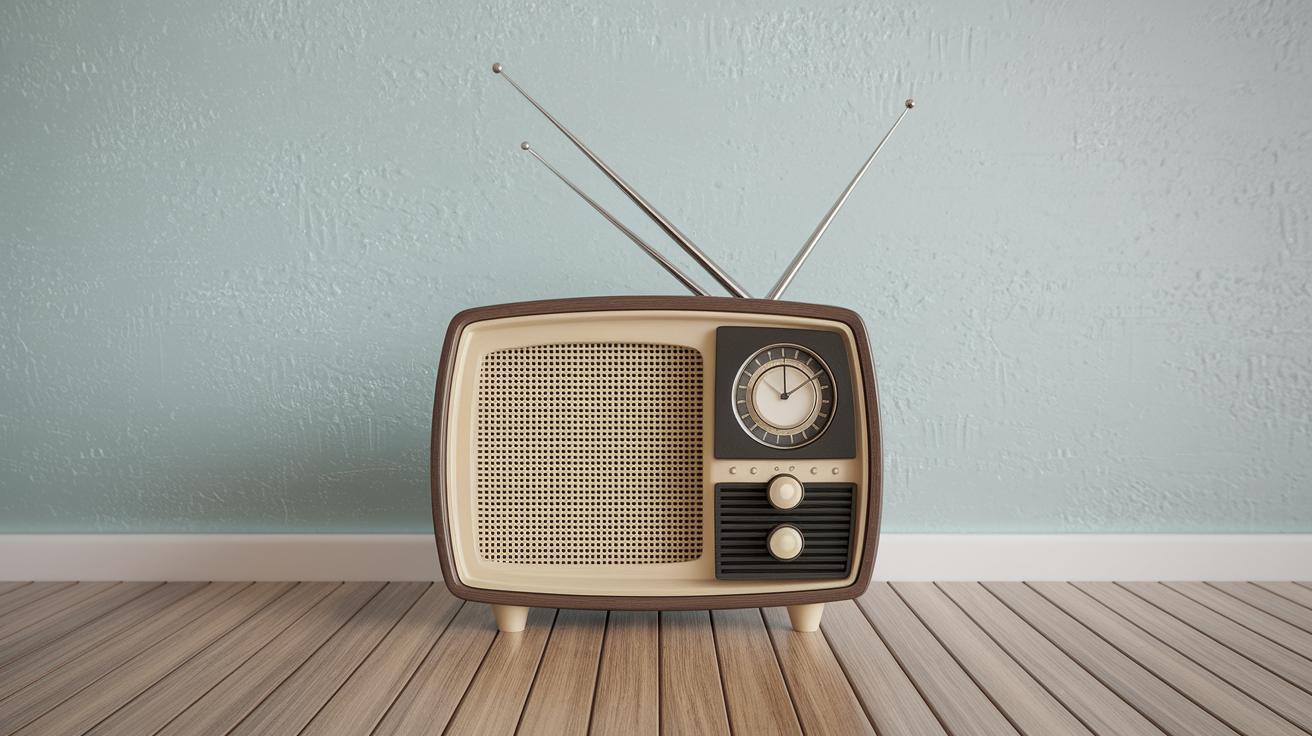
Introduction: Rebuilding an Old AM Radio
Restoring a vintage radio or television is a rewarding venture that combines historical appreciation with technical skill. These timeless devices, often neglected or damaged by the passage of time, hold stories and craftsmanship that deserve preservation. This comprehensive guide walks you through the meticulous process of breathing new life into these classic pieces. From carefully removing chassis to replacing crucial components and dealing with hazardous materials like asbestos, each step is integral to a successful restoration. Whether you’re an experienced restorer or a curious beginner, this guide provides detailed insights to transform your vintage radio or TV into a functioning relic of the past.
Step 1: Remove the Radio Chassis From the Case
The first step in restoring a vintage radio is to carefully remove the chassis from its case. This involves unscrewing any attached fasteners and gently maneuvering the chassis, ensuring not to damage any delicate components or wires. This process is crucial, as it provides full access to the internal components that require cleaning and repair.
Before starting, make sure to document the setup, taking notes or photographs that can guide you during reassembly. This cataloguing is particularly beneficial if you’re unfamiliar with the device’s original arrangement, helping ensure that all components are returned to their proper place after restoration.
Step 2: Replace the Electrolytic Capacitors
Once you’ve accessed the chassis, the next critical step is replacing the electrolytic capacitors. Over time, these components degrade, compromising the functionality of the radio. Carefully desolder each capacitor, noting its polarity, and replace it with a new, high-quality equivalent. Modern capacitors are generally smaller, which allows more flexibility in placement but requires attention to fit securely within the original design.
Capacitor failure is one of the most common issues in vintage electronics. Therefore, ensuring they’re of the right capacity and voltage rating is essential for the radio’s performance and longevity. This meticulous substitution safeguards the radio’s internal circuitry against future failures.
Step 3: Replace the Paper and Wax Covered Capacitors
Beyond electrolytic capacitors, the radio likely contains outdated paper and wax-covered capacitors. These components are notoriously unreliable with age, often resulting in shorts or other failures. Identify these capacitors and replace them with modern film capacitors, which offer superior reliability and performance.
The old capacitors often contain paper or wax that can melt and create hazards. Carefully handle these when removing them to prevent mess and potential harm to the remaining components. Precision in choosing the replacements will bolster the radio’s functionality and ensure a lengthy operational life.
Step 4: Radio Is Now Working Correctly
With the replacements of worn-out capacitors, the radio should begin to regain its ability to function properly. At this stage, performing a series of tests is recommended. Verify the power supply and audio output to ensure the repairs are successful and that the radio is receiving signals as intended.
Should the radio exhibit issues, a detailed inspection of the wiring and connections, potentially consulting a schematic diagram, can aid in diagnosing persistent problems. Fine-tuning may involve recalibrating certain components or addressing any overlooked areas, but persistence will likely be rewarded with a working device.
Step 5: Asbestos — Nasty Stuff!
One of the more hazardous aspects of restoring vintage electronics is dealing with asbestos, often used for insulation in older devices. Asbestos fibers can pose severe health risks if disturbed, so it’s critical to handle these materials with care, wearing appropriate protective gear.
Consider consulting a professional if you’re uncomfortable managing asbestos, as improper handling can inadvertently disperse fibers. Alternatively, removing and replacing the asbestos with modern, safer insulating materials ensures the device is both functional and safe.
Step 6: 70 Years of Neglect!
Neglected components, affected by rust, dust, and grime accumulated over decades, need careful cleaning to restore their functionality. Begin with a gentle cleaning agent, ensuring to remove residue that could compromise electronic connections or the appearance of the radio.
This stage also offers a unique opportunity to revitalize the radio’s exterior. Cleaning or refinishing wooden cases can enhance both aesthetic value and structural integrity. Investing in these efforts allows the radio to serve as a showpiece of historical significance and personal accomplishment.
Step 7: The Results
After thorough cleaning, replacement, and recalibration, your vintage radio restoration should culminate in a fully operational device. This transformation isn’t only functional but aesthetic, marking a successful preservation of historical technology.
Display your restored artifact proudly, as it represents both your dedication to the craft and the device’s historical narrative. Sharing this journey with fellow vintage enthusiasts can inspire and cultivate a deeper appreciation for the timeless technology.
Summary of Main Points
| Step | Description |
|---|---|
| Remove the Chassis | Carefully remove the radio chassis from its case, documenting for reassembly. |
| Replace Electrolytic Capacitors | Change old capacitors with modern equivalents to restore functionality. |
| Replace Paper/Wax Capacitors | Swap unreliable capacitors with modern film types for improved performance. |
| Radio Testing | Test operational capacity, recalibrate if needed, and troubleshoot issues. |
| Handle Asbestos | Cautiously manage asbestos insulating materials or replace them with safer alternatives. |
| Address Neglect | Clean and repair structural and electronic components, reviving the radio’s look and function. |
| Final Results | Culminate in a restored, operational radio, ready for display and use. |

