
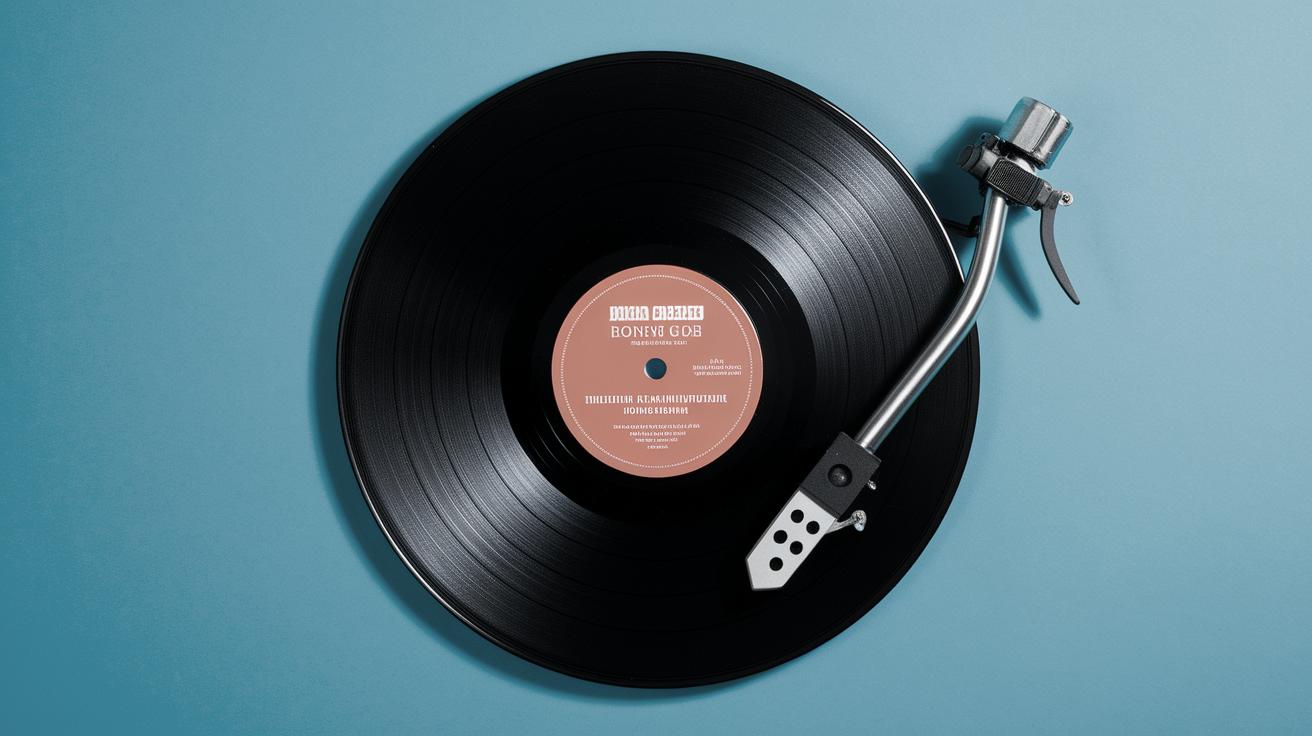
How to Restore the Appearance of Vintage Vinyl Records
Introduction: Bring Ruined Records Back to Life
Vinyl records possess a unique charm, encapsulating the nostalgia of a bygone era and offering an unrivaled auditory experience. However, over time, these beloved discs can succumb to wear and tear, diminishing both their appearance and quality. In this guide, we will delve into the nuanced art of restoring vintage vinyl records, breathing new life into those cherished collections. From understanding how records get damaged to implementing effective restoration techniques, this comprehensive guide will equip you with the knowledge and skills needed to make your vinyl records shine like new. Embrace this opportunity to reconnect with your favorite music in its purest form and preserve these timeless treasures for future generations.
Step 1: How Records Get Damaged
Understanding the various ways vinyl records incur damage is the first step towards effective restoration. Records can suffer from scratches, scuffs, and dirt accumulation caused by improper handling or storage. A simple slip while placing a record on the turntable can leave irreparable marks, compromising audio quality with every skip and pop. Additionally, prolonged exposure to dust and debris can cause buildup in the grooves, affecting how the record sounds when played.
Environmental factors also play a substantial role. Variations in temperature and humidity can warp the vinyl, leading to distortion in sound fidelity. Meanwhile, exposure to direct sunlight may cause warping and discoloration, further deteriorating both the aesthetic and functional aspects of the record. By recognizing these potential hazards, record enthusiasts can better prevent damage and take appropriate measures to counteract existing issues.
Step 2: How We’re Going to Fix It
After identifying the common culprits of vinyl damage, we can focus on the restorative practices that will rejuvenate your collection. The fundamental approach involves a thorough yet delicate cleaning process. It’s crucial to invest in a quality cleaning solution specifically designed for vinyl to safely remove dirt and grime without inflicting further damage. Tools such as a carbon fiber brush or microfiber cloth can assist in eliminating surface dust.
For records with visible scratches, some DIY solutions can help minimize their impact. Applying a small amount of wood glue in the grooves and allowing it to dry before peeling can remove dirt embedded in scratches. Careful handling is key throughout this step, ensuring that solutions and tools are used with precision and gentleness to avoid exacerbating the damage.
Step 3: Work, Work, Work
The actual process of physically cleaning and restoring a record demands patience and precision. Begin by lightly dusting the record with a carbon fiber brush, following the grooves’ direction to remove loose dust particles. Next, using the chosen cleaning solution, softly wipe the surface with a microfiber cloth, ensuring even coverage across the vinyl. Refrain from applying excessive pressure, as this might deepen scratches or cause groove distortions.
For more severe scratches, consider the wood glue method mentioned previously. This process should only be undertaken if you’re confident in handling your records, as mishaps could lead to further scratches or residue buildup. Finally, perform a delicate rinse under lukewarm distilled water, effectively removing remaining residue and enhancing the record’s overall appearance and sound quality.
Step 4: Update: an Experiment…
In the ever-evolving pursuit of vinyl restoration, experimenting with new techniques can yield surprising results. One such experiment involves the use of a vinyl vacuum cleaner, which provides a deeper clean by suctioning out embedded grime within the grooves. While this method requires a significant upfront investment, users have reported marked improvements in both appearance and playback quality, making it worthwhile for serious collectors.
An alternative experimental method is the ultrasonic cleaning technique. This technology utilizes high-frequency sound waves in a liquid bath to dislodge dirt and dust from even the most stubborn recesses of the record. Although this method is typically used in professional setups due to its cost, there are now more affordable domestic options entering the market. If implemented correctly, ultrasonic cleaning can restore a near-original sound, providing a revitalizing breath of new life into your vinyl collection.
Final Thoughts
Restoring vintage vinyl records is as much an art as it is a science, requiring both the right tools and a meticulous approach. Understanding the root causes of record damage allows enthusiasts to take preventive measures and apply effective restoration techniques. By adopting thorough cleaning methods, experimenting with innovative solutions like the vinyl vacuum or ultrasonic cleaning, one can successfully rejuvenate their collection. Embrace the rewarding challenge of preserving these musical treasures, ensuring their legacy for generations to come.
| Steps | Description |
|---|---|
| How Records Get Damaged | Scratches, environmental conditions, and dirt buildup cause significant damage to vinyl records, affecting their sound and appearance. |
| How We’re Going to Fix It | Implementing careful cleaning techniques, like the carbon fiber brush and specialized solutions, to rejuvenate the records. |
| Work, Work, Work | The physical act of cleaning demands delicacy and precision, crucial for achieving optimal restoration results. |
| Update: an Experiment… | Exploring innovative techniques such as vinyl vacuum cleaning and ultrasonic cleaning to improve the restoration process. |

