
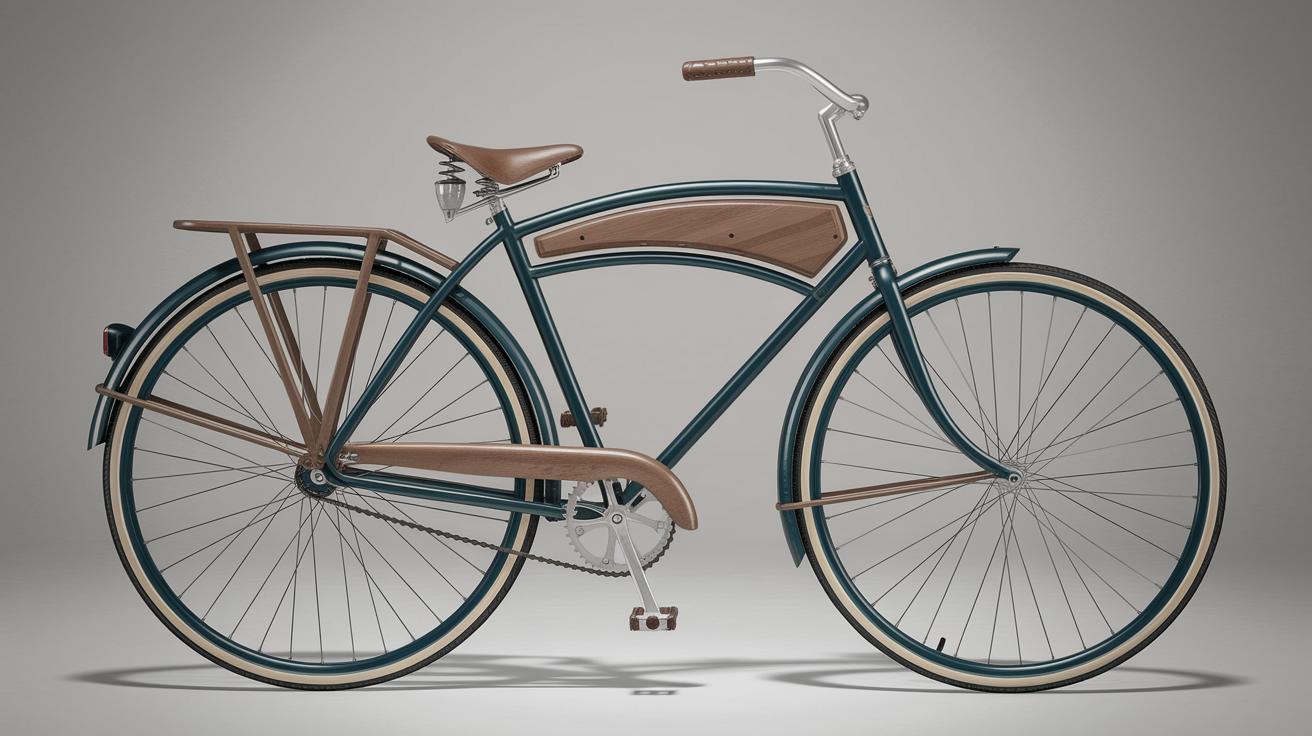
Introduction: Restore an Old Bicycle
The charm and nostalgia of vintage bicycles have captivated enthusiasts for generations. Restoring a vintage bicycle not only revives a piece of history but also offers a rewarding opportunity to add a customized touch to a unique piece of craftsmanship. Whether you’re rejuvenating a cherished family heirloom or rescuing a retro gem found at a flea market, the process can be both fulfilling and therapeutic. In this guide, we’ll explore the step-by-step journey toward bringing an old bicycle back to life. From understanding the necessary tools to mastering rust treatment and applying fresh paint, each stage of restoration offers its own set of challenges and rewards. Prepare to embark on a gratifying project that blends patience, precision, and a love for cycling’s timeless legacy.
Step 1: What You’ll Need
Before diving into the restoration, it’s essential to gather all the necessary tools and supplies. This will streamline the process and help you focus on the task at hand. You’ll need basic tools like wrenches, screwdrivers, and pliers, as well as specialized bicycle tools such as a chain breaker and a bottom bracket tool. Protective gear, including goggles and gloves, is also recommended to ensure safety throughout the restoration.
In addition to tools, certain materials are indispensable. Rust remover, primer, and paint specific for metalwork will be crucial for transforming the bicycle’s appearance. Cleaning agents and lubricants will help in maintaining the functionality of moving parts. Lastly, depending on the bike’s current state, new components such as tires, cables, or a chain may be required to complete your restoration.
Step 2: Disassembly
Disassembling the bicycle is the first hands-on stage of the restoration process. It involves carefully removing parts like wheels, brakes, pedals, and handlebars, which aids in a thorough inspection and cleaning. Document each step and organize parts systematically to ease the reassembly later on. Photos can be particularly helpful for complex components.
As you dismantle the bike, pay attention to any damaged or excessively worn parts that might need replacing. This phase is an excellent opportunity to assess the condition of the frame and essential components. Handle every piece with care, especially the vintage components, as some may be fragile or difficult to replace.
Step 3: Preparing to Prime
After disassembly, focus on preparing the bicycle frame and parts for priming. This involves cleaning and sanding down any old paint or rust, ensuring a smooth surface for the primer to adhere to. Cleaning removes grease and dirt, while sanding helps in removing paint remnants and provides a tooth for the primer.
A clean, well-ventilated workspace is recommended during this stage. Using sandpaper or a wire brush, start gently sanding the metal surfaces. Pay close attention to intricate areas and hard-to-reach spots. Taking time and care during preparation will significantly impact the quality of the final finish.
Step 4: Rust Treatment
Rust is often the greatest adversary in any vintage bicycle restoration. Depending on severity, rust can be treated using specialized rust removers or converters. Apply a suitable rust remover to the affected areas and follow the product’s instructions for the best results.
For lighter rust, a mixture of vinegar and baking soda can also serve as a natural remover. Apply the mixture, let it sit, and scrub the rust away with a brush. Post treatment, ensure that all remnants of rust remover or baking soda are thoroughly cleaned off the metal surface to prevent any future corrosion.
Step 5: Priming the Metalwork
With the frame clean and rust-free, it’s time to apply the primer. This step is crucial for paint adhesion and preventing future rust. Use a primer specifically designed for metal surfaces and follow the instructions on the product label.
Apply an even coat of primer using spray paint or a paintbrush, ensuring complete coverage. Allow sufficient time for drying before proceeding to prevent any reactions with the topcoat paint. A well-applied primer sets the foundation for a durable and attractive finish.
Step 6: Painting Time!
Painting is where your vintage bicycle can really shine and express personalized flair. Choose a high-quality, durable paint designed for outdoor use that can withstand environmental factors. Spray paints or an airbrush system provide a smooth finish, although careful brushwork can also achieve excellent results.
Apply multiple thin layers of paint rather than fewer thick ones to avoid runs or uneven surfaces. Each layer should be allowed to dry thoroughly before proceeding to the next. Once the final layer is applied, give the paint ample time to cure before handling or assembling any parts.
Step 7: Cleaning, Degreasing, Paint Stripping the Other Components!
While the frame and larger components are being refinished, other parts like the chain, gears, and small metal fittings should also be cleaned and checked for wear. Use degreaser solutions and a toothbrush to clean metal parts, then rinse them thoroughly and allow them to dry.
For parts with old paint, paint-stripping solutions may be required for a uniform look. Follow safety precautions when using chemical strippers, ensuring you are in a well-ventilated area. Components should be cleaned, checked for wear, and prepared for reassembly.
Step 8: Deliveries and New Parts!
Replacing worn or non-functional parts is often necessary in restoring a vintage bicycle. Based on the earlier assessment during disassembly, order any required parts such as new tires, inner tubes, brake pads, cables, or a chain. Check for availability of the original or similarly styled parts for authenticity in restoration.
Patience is key here, as sourcing certain vintage parts may take time. When purchasing new components, ensure they match the specifications of your bicycle for compatibility. This is also an opportunity to upgrade or customize for improved performance or personalization.
Step 9: Replacing the Bottom Bracket and Cranks
The bottom bracket and cranks play central roles in the bicycle’s operation. Reinstall or replace the bottom bracket if it shows signs of wear or damage. Use a bottom bracket tool for proper installation and torque specifications.
While reattaching the cranks, ensure they are aligned correctly and fastened securely. Test the smoothness of their rotation to confirm functionality. Proper installation of these components is crucial for efficient and safe cycling experiences.
Step 10: The Chain Goes Back On
With the driveline components set, reinstall a clean or new chain. Use a chain breaker to adjust the chain’s length, ensuring it fits perfectly over the bike’s gears. Apply appropriate bicycle lubricant to maintain its smooth operation and prevent rust.
Once installed, manually test the chain’s movement by turning the pedals. It should shift smoothly between gears without binding. A properly installed and maintained chain is vital for performance and rider safety.
Step 11: Brakes and Cables
A bike’s braking system should always be in top working condition. Begin by installing new brake pads if required, and attach cables, ensuring they have sufficient tension and responsiveness. Adjust the brake calipers so they’re properly aligned with the wheel rims.
Test the brakes by squeezing the levers, checking for smooth action and adequate stopping response. Regular maintenance of the braking system ensures safety and control in various riding conditions.
Step 12: Finishing Touches
With the primary components in place, inspect the entire bicycle once more. Tighten any loose nuts or bolts, inspect the seat, handlebars, and examine the wheel alignment. Consider adding any personal touches, like decals or accessories, to make the bike distinctly yours.
A final polish gives the bicycle a showroom-worthy shine and highlights the effort invested in its restoration. Go for a test ride to ensure all systems are fully functional and make final adjustments as necessary.
Step 13: Summary of Main Points
| Step | Overview |
|---|---|
| What You’ll Need | Gather essential tools and materials for cleaning, painting, and assembly. |
| Disassembly | Systematic removal of bicycle components for inspection and preparation. |
| Preparing to Prime | Cleaning and sanding surfaces for effective primer adhesion. |
| Rust Treatment | Apply rust remover or natural remedies to treat affected areas. |
| Priming the Metalwork | Apply primer to prepared surfaces to prevent rust and improve paint adhesion. |
| Painting Time! | Apply multiple layers of chosen paint, allowing each to dry thoroughly. |
| Cleaning Other Components | Degrease and clean other bicycle parts, prepare for reassembly. |
| Deliveries and New Parts | Source and purchase any necessary replacement or custom parts. |
| Replacing Bottom Bracket and Cranks | Install these drivetrain components with care for optimal performance. |
| The Chain Goes Back On | Install and lubricate the chain, ensuring proper fit and function. |
| Brakes and Cables | Install and adjust the braking system for optimal safety. |
| Finishing Touches | Tighten loose parts, add personal touches, and perform a final test ride. |

