
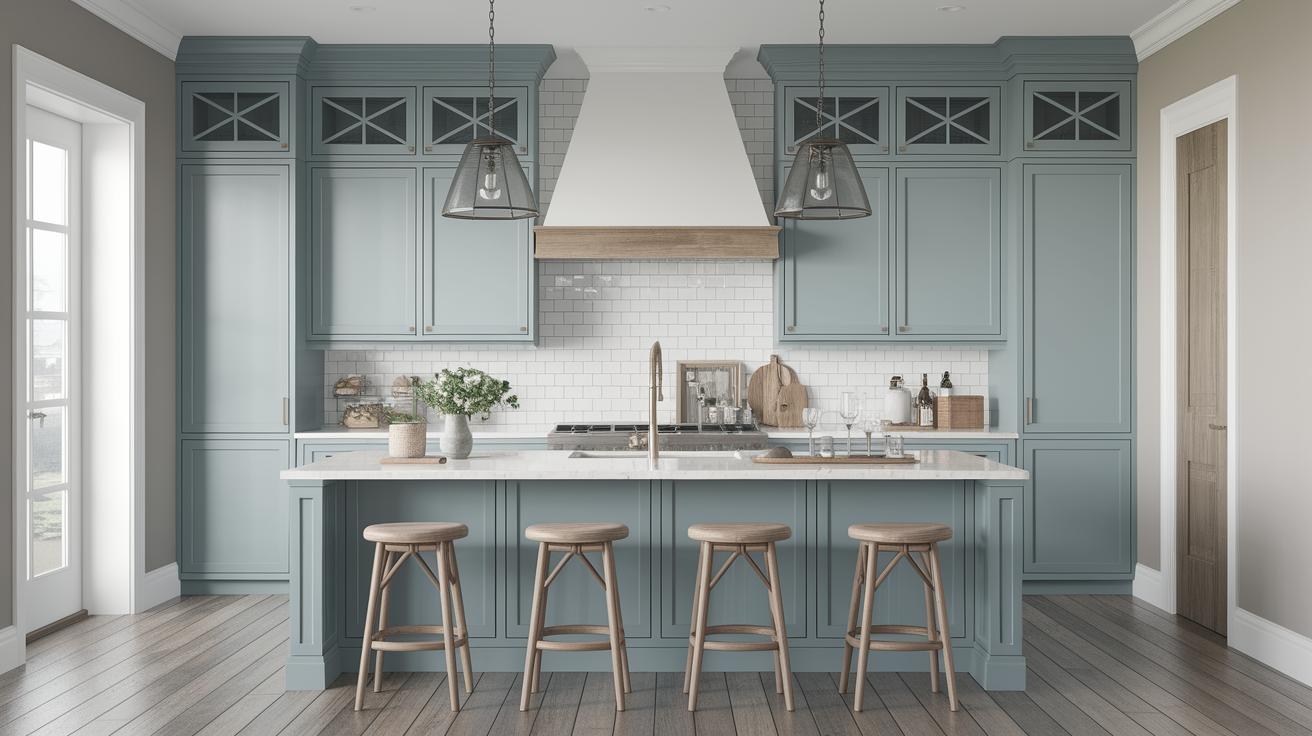
How to Restore and Refinish Antique Cabinets
Introduction: How to Restore Old Cabinets
Restoring antique cabinets is a rewarding endeavor that combines craftsmanship and creativity. Whether you’ve inherited a beautiful piece or stumbled upon a treasure at a flea market, restoring and refinishing can breathe new life into aged cabinetry. This guide will walk you through the essential steps of the process, from removing old hardware to applying a fresh stain. By following these steps, you can preserve the integrity and history of your antique cabinets while giving them a refreshed appearance that suits your taste and style.
Step 1: Remove Hardware
The first step in restoring your antique cabinets involves carefully removing the existing hardware. This includes handles, hinges, and any decorative elements. Use a screwdriver to gently unscrew these pieces, being mindful to keep all the screws and small parts together in a safe place for later reinstallation. Labeling each component can help ensure an easy reassembly process.
Removing hardware not only makes the restoration process easier but also helps protect these elements from potential damage during subsequent steps. Additionally, it allows you to clean or replace these fixtures to match the rejuvenated cabinetry. It’s important to handle antique hardware with care, as replacements can often be difficult to find.
Step 2: Strip Stain
Once the hardware has been removed, the next step is to strip the old stain from the cabinet surface. This can be done using a commercial paint stripper or a homemade solution. Apply the product liberally to the surface using a brush, ensuring that it reaches the edges and crevices.
As the stain lifts, use a scraper to gently remove it. Be cautious not to gouge or scratch the wood. After stripping, clean the surface with a damp cloth to remove residue, letting it dry completely before moving to the next step. This process not only prepares the wood for sanding but also reveals its natural grain, helping you decide on a new finish.
Step 3: Sand
Sanding is a crucial step in the restoration process, as it smooths out any remaining blemishes and prepares the wood for a new stain. Start with a medium-grit sandpaper to remove any rough patches and move toward a finer grit for a polished finish. The goal is to create a smooth, even surface that will absorb the new stain evenly.
Remember to sand in the direction of the wood grain to avoid scratches. For intricate areas or corners, hand sanding may be necessary. Once finished, wipe the surface with a tack cloth to remove any dust, ensuring a clean finish for the staining process.
Step 4: Stain
With a polished surface, it’s time to apply a new stain to your antique cabinets. Choose a stain that complements both the wood type and your desired aesthetic. Using a clean brush or cloth, work the stain into the wood by following the grain, applying an even coat over the entire surface.
Allow the first coat of stain to penetrate the wood, which could take anywhere from a few minutes to overnight, depending on the product. Wipe away any excess stain with a lint-free cloth. For a deeper hue, consider applying multiple coats, ensuring each layer dries thoroughly before adding the next.
Step 5: Brush and Restain
After the initial staining, you may notice areas needing extra attention. In this case, repeat the staining process on those spots. For maximum depth and richness, consider using a small brush for reaching detailed or intricate sections, ensuring the color is consistent throughout the piece.
This additional step may seem time-consuming, but it ensures that every inch of the cabinet reflects the care and effort you’ve invested in its restoration. Once satisfied with the uniformity of the stain, let the cabinet dry completely before proceeding.
Step 6: Clean Hardware
While the cabinet is drying, focus on cleaning the original hardware. Soaking the pieces in a solution of warm water and mild detergent can help remove years of grime and tarnish. Use a soft brush to lightly scrub each part, paying special attention to intricate details.
Once clean, rinse the hardware thoroughly and dry with a soft cloth. If desired, polish metal components to restore their original shine. This step not only enhances the overall aesthetics of your restored cabinet but also preserves the historical integrity of its components.
Step 7: Reinstall Hardware/Cabinets
With the cabinet and hardware restored, it’s time to bring everything back together. Carefully reattach the clean or newly purchased hardware using the screws you set aside at the beginning of the project. Ensure each component is securely fixed while checking that moving parts, like drawers and doors, operate smoothly.
Completing the reinstallation process is not only satisfying but also marks the culmination of your restoration journey. Take a moment to admire the transformed piece and enjoy the renewed utility and beauty it brings to your space.
Step 8: Finished!
Your antique cabinet restoration is now complete! This process has not only revitalized a piece of history but also enhanced your home with a unique and personal touch. Each step of the journey, from stripping old stain to applying new, is a testament to your commitment to craftsmanship and preservation.
Remember that maintaining its beauty involves regular care, such as dusting and gentle cleaning, ensuring that your prized antique continues to serve and delight for generations to come. With dedication and patience, you’ve successfully breathed new life into a cherished piece of furniture.
Final Thoughts on Restoring Antique Cabinets
| Step | Description |
|---|---|
| 1. Remove Hardware | Take off existing handles and hinges carefully for protection during the restoration process. |
| 2. Strip Stain | Apply a stain remover to lift old finishes, revealing the wood’s natural beauty. |
| 3. Sand | Smooth out the surface to prepare it for new stain application. |
| 4. Stain | Choose and apply a new stain for a refreshed appearance. |
| 5. Brush and Restain | Address any inconsistencies, applying additional coats for depth. |
| 6. Clean Hardware | Soak and polish hardware to restore its shine and function. |
| 7. Reinstall Hardware/Cabinets | Put everything back together, ensuring functionality and stability. |
| 8. Finished! | Enjoy the renewed beauty and charm of your antique cabinet. |

