
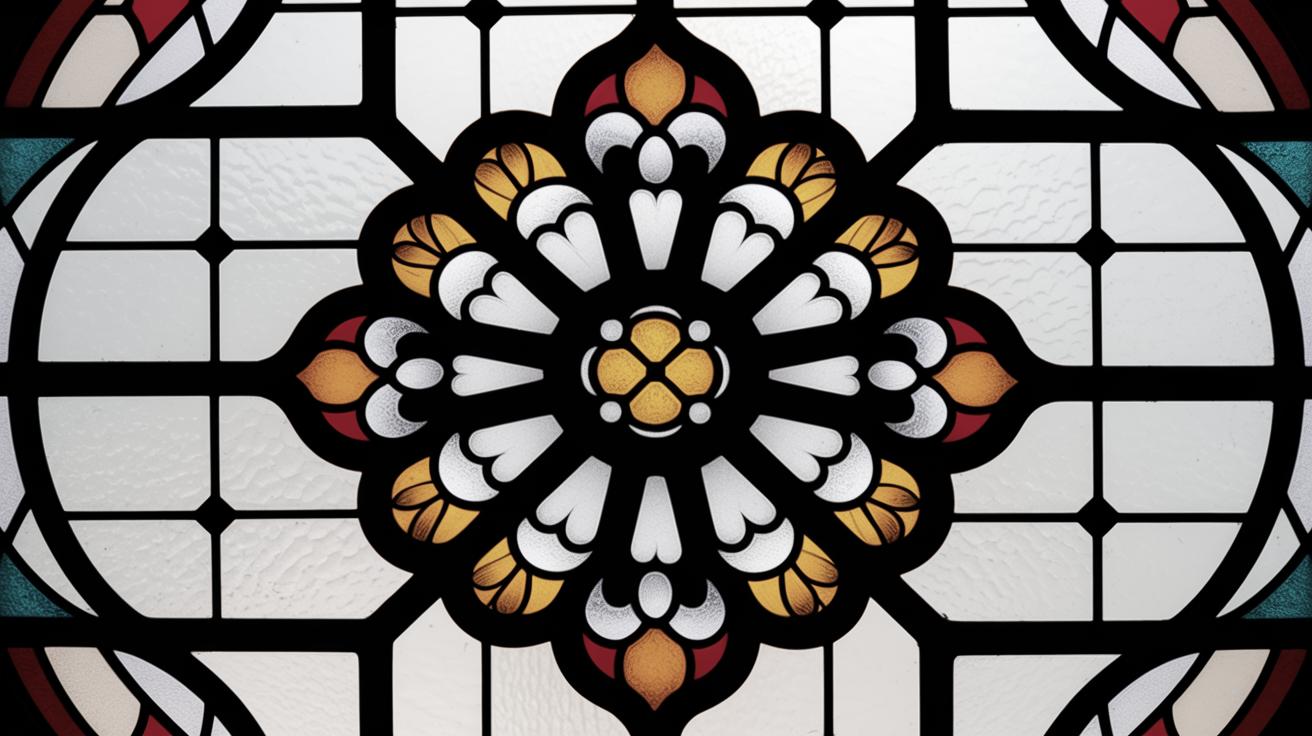
Techniques for Restoring Stained Glass
Stained glass, with its captivating beauty and intricate designs, is an art form that has adorned windows and buildings for centuries. However, over time, these delicate pieces of art can suffer damage from environmental factors, accidents, or simply age. Restoring stained glass is a meticulous process that requires a blend of artistry and technical skill. This blog post explores the various techniques used to bring these precious artworks back to their former glory. From initial assessment to final touch-ups and maintenance strategies, we will guide you through the restoration journey, shedding light on the complexities and intricacies involved in preserving stained glass for future generations to appreciate and admire.
Assessment and Planning
The restoration process begins with a thorough assessment of the stained glass. Professionals meticulously examine each panel to identify damage such as cracks, missing pieces, or sagging lead came. This step is crucial for formulating a detailed restoration plan and setting the groundwork for the project’s scope, timeline, and cost.
In the planning phase, decisions are made regarding the extent of restoration required. This may include determining whether to replace certain glass sections, repair leadwork, or even replicate entire panels. Detailed sketches and photographs are taken to guide the process and ensure historical accuracy in the restoration work.
Removing the Damaged Glass
Once the assessment and planning are complete, the next step involves carefully removing the damaged stained glass. This delicate process requires precision and caution to prevent further damage. Craftsmen disassemble the panels, taking care to document the original arrangement for accurate reassembly.
Specialized tools and techniques are employed to loosen the glass from its frame and surrounding lead came gently. Any cracked or broken pieces are handled with utmost care to preserve as much of the original glass as possible. This careful documentation and removal ensure that the restoration process retains the authenticity of the original artwork.
Cleaning and Preparing the Glass
Cleaning the glass is an essential step in stained glass restoration. Accumulated dirt, grime, and old putty are gently removed using mild cleaning agents and soft brushes. This process reveals the glass’s true colors and patterns, an important aspect that greatly influences the outcome of the restoration.
Once cleaned, the glass is inspected for any weak spots or surface blemishes that may have developed over time. Preparations include assessing for additional repairs or replacements needed and sourcing glass that closely matches the original in terms of color and texture. This step ensures the restoration’s visual consistency and integrity.
Replacing Broken or Cracked Glass
In cases where glass pieces are too damaged to repair, skilled artisans undertake the task of replacing them. The challenge lies in creating a seamless match with the original work. Replacement glass is chosen based on the age, color, and texture of the original, ensuring it aligns aesthetically.
Artisans carefully cut and shape the new glass pieces to fit the original outlines accurately. This involves acquiring materials that match the historical context of the piece, which may entail procuring rare types of antique glass or specially manufacturing new pieces. The precision and attention to detail in this stage are crucial for maintaining the piece’s authenticity.
Repairing Lead and Solder Joints
Lead caming, the metal framework holding stained glass pieces in place, often requires repair due to age or damage. The lead structure is meticulously assessed for integrity and repaired or replaced as needed. Damaged solder joints are reheated and restored to ensure structural stability.
Repairing these components not only strengthens the stained glass but also ensures it remains weatherproof and secure. This step is essential for protecting the glass from environmental elements and maintaining the overall durability of the restoration.
Reassembly and Cementing
Once all individual components are repaired or replaced, the stained glass is ready for reassembly. This involves re-aligning the glass pieces within the lead framework according to the documented plans. Craftsmen use precision and care to fit each piece into its proper position.
Cementing, also known as glazing, involves applying a special putty to secure the glass within the lead came. This process not only anchors the glass firmly but also provides weatherproofing, ensuring the longevity of the restored artwork. Cementing helps seal the glass, protecting it from moisture and other external factors.
Cleaning and Finishing Touches
After reassembly, the restored stained glass undergoes a final cleaning process. This involves removing any residual cement or fingerprints and polishing the glass to enhance its appearance. The finishing touches ensure the restored glass shines brilliantly, recapturing its original splendor.
Details such as matching or enhancing any faded paintwork on the glass might also be undertaken at this stage. The final touches ensure both the structural and aesthetic aspects of the stained glass are restored to perfection.
Protecting and Maintaining the Restored Glass
To protect the restored stained glass from future damage, protective measures are essential. Installing protective glazing or environmental shields can safeguard against weather extremes, UV light, and physical damage. This additional layer acts as a barrier while allowing the stained glass to be admired safely.
Regular maintenance is vital to prolong the life of restored stained glass. Routine inspections, cleaning, and minor repairs prevent the need for extensive restoration in the future. Crafting a maintenance plan tailored to the specific needs of the artwork helps preserve its beauty for years to come.
Summary
Restoring stained glass is a labor-intensive process that combines artistry, craftsmanship, and historic preservation. Each step, from initial assessment and planning to the final cleaning and protective measures, is crucial for reviving the glass’s original allure. Through careful restoration techniques, we ensure these masterpieces continue to fascinate and inspire future generations.
Need Stained Glass In Prunedale, CA?
If you’re looking for professional stained glass restoration services in Prunedale, CA, our expert team is dedicated to preserving the artistry of stained glass. Whether it’s a historic piece or a modern installation, we offer tailored solutions that honor the integrity and beauty of your stained glass works.
Letter 2: Various Kinds of Intervention.
The variety of interventions involved in stained glass restoration reflects the necessity of balancing preservation with artistic integrity. From delicate cleaning processes to intricate repair of lead frameworks, each step addresses unique challenges in the restoration journey.
In conclusion, exploring different methods is integral to determining the best course of action for each specific project. This ensures the stained glass is both preserved for its historical value and enhanced for future enjoyment, rendering these cherished pieces as vibrant as when they were first created.
Final Thoughts
| Stage | Description |
|---|---|
| Assessment and Planning | Evaluate damage and plan for restoration. Document the original state for reference. |
| Removing the Damaged Glass | Carefully remove glass panels, preventing further damage. |
| Cleaning and Preparing the Glass | Remove dirt and grime, assess for further repairs. |
| Replacing Broken or Cracked Glass | Replace damaged pieces with matching glass. |
| Repairing Lead and Solder Joints | Restore lead caming and solder joints for stability. |
| Reassembly and Cementing | Realign glass pieces, secure with cementing. |
| Cleaning and Finishing Touches | Final cleaning and enhancements for visual appeal. |
| Protecting and Maintaining the Restored Glass | Implement protective measures and establish maintenance routines. |

