
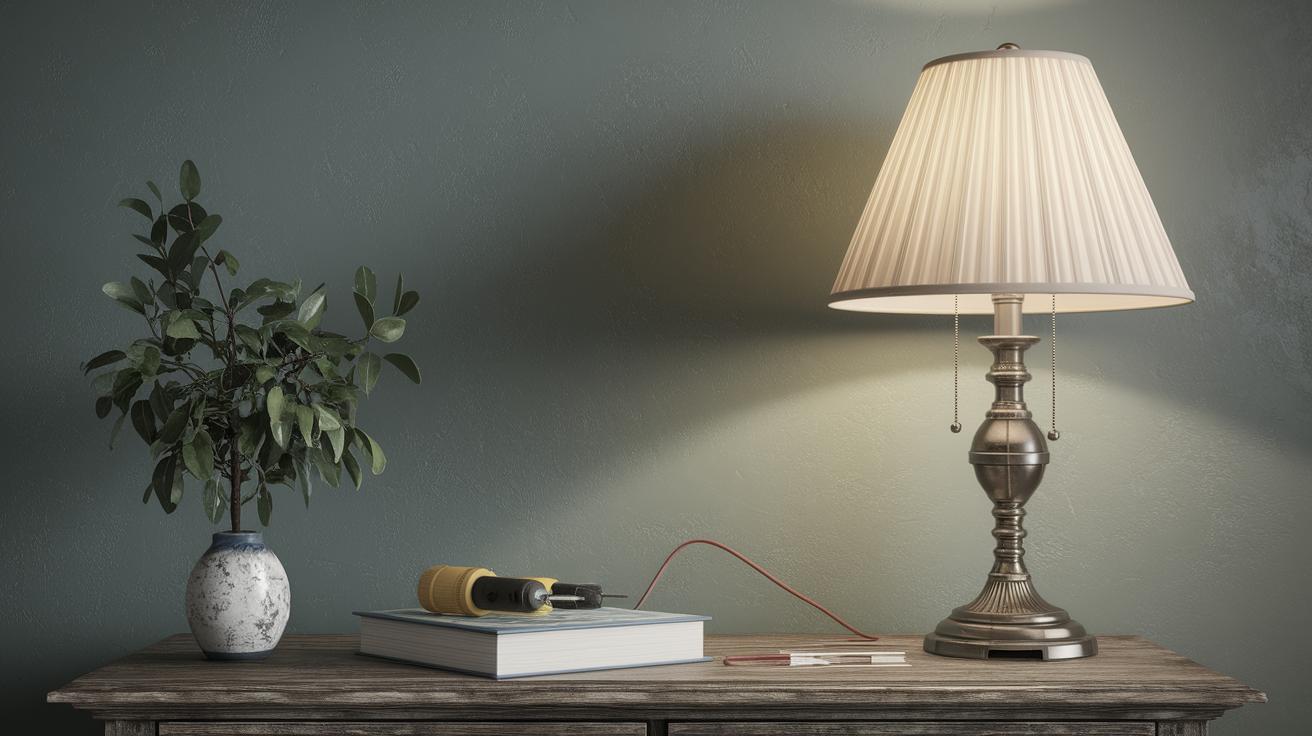
Updating the wiring in a vintage lamp can breathe new life into an old piece, transforming it from a charming antique to a functional and safe addition to your home. Whether you’ve inherited a beloved family heirloom or stumbled upon a gem at a flea market, rewiring a vintage lamp can be a rewarding DIY project. This comprehensive guide will walk you through the tools and materials required, the essential safety precautions, and a detailed step-by-step process to ensure your lamp is properly rewired. By addressing common troubleshooting issues and offering insights into further electrical projects, this guide aims to provide you with the confidence and knowledge needed to maintain and enhance your vintage finds.
Tools and Materials for Lamp Rewiring
Before embarking on your rewiring project, it’s crucial to gather all necessary tools and materials to streamline the process. Basic tools include a screwdriver set, wire cutters, and wire strippers, which are essential for removing old components and preparing new wires. A multimeter is also useful for checking the continuity and ensuring the integrity of your electrical connections.
Materials you’ll need include a replacement lamp cord and plug set, ensuring they are compatible with your lamp’s design and comply with current safety standards. You may also require replacement sockets if the existing ones are outdated or damaged. It’s wise to have a few wire connectors on hand to ensure secure connections between components.
Safety Precautions When Rewiring a Lamp
Safety should always be a priority, especially when working with electrical projects. Before beginning any work, ensure that the lamp is unplugged and well away from any power sources. A well-lit work area free from clutter can help prevent accidents and mishaps during your project.
It’s also advisable to wear protective eyewear and gloves as an extra precaution against potential hazards. If you’re unfamiliar with electrical components, consider consulting a professional or referencing additional educational resources to bolster your understanding.
Step-by-Step Process To Rewire a Lamp
Step 1: Gather Materials
Start by gathering all the tools and materials outlined earlier. Having everything organized in a single, easily accessible location will expedite the process and minimize interruptions. Ensure that each item is in good working condition before proceeding.
Step 2: Remove the Base
Carefully disassemble the base of the lamp to access the wiring. Depending on the lamp’s age and design, this may require removing screws or loosening nuts. Take note of how the parts connect, as this will aid in reassembly.
Step 3: Thread the New Cord
Once the base is removed, carefully thread the new cord through the lamp’s structure. Ensure smooth threading to avoid any kinks or bends, as these can compromise the cord’s functionality. Use wire guides if necessary to maintain alignment.
Step 4: Make the Wire Connections
Remove the old wires and use wire strippers to prepare the new ones. Connect the new wires to the socket, ensuring a tight and secure attachment. Use wire connectors to bind the wires securely, preventing any accidental disconnection.
Step 5: Reattach the Base and Connect the Plug
After securing the wire connections, reattach the base of the lamp, ensuring each component is fitted snugly and securely. Finally, affix the new plug to the end of the cord, following the manufacturer’s instructions to ensure a safe connection.
Troubleshooting Common Issues
Corroded Parts
Corrosion can present a notable challenge in vintage lamps, particularly if they have been stored in less than ideal conditions. Scrutinize each component for signs of corrosion before proceeding, as it may necessitate replacing affected parts entirely.
Switch Problems
If the lamp’s switch is malfunctioning, check for loose wiring connections or wear and tear on the switch mechanism. In many cases, replacing the switch is a simple and effective solution to restore functionality.
Next Up In Electrical
Having completed your lamp rewiring project, consider exploring other straightforward electrical updates that can enhance your home’s ambiance and safety. Updating light fixtures, installing dimmer switches, or exploring smart home lighting solutions are excellent next steps.
As with any electrical project, continue to prioritize safety and educate yourself on best practices. Engaging in discussions with fellow DIY enthusiasts can also provide new perspectives and enhance your learning curve.
Future Prospects
| Section | Description |
|---|---|
| Tools and Materials | Essential tools and materials you need for rewiring a vintage lamp. |
| Safety Precautions | Important safety measures to follow during the rewiring process. |
| Step-by-Step Process | Detailed steps to successfully rewire a lamp, from gathering materials to connecting the plug. |
| Troubleshooting | Common issues you might encounter and how to address them. |
| Next Up | Exploring other electrical projects and home improvements. |

