
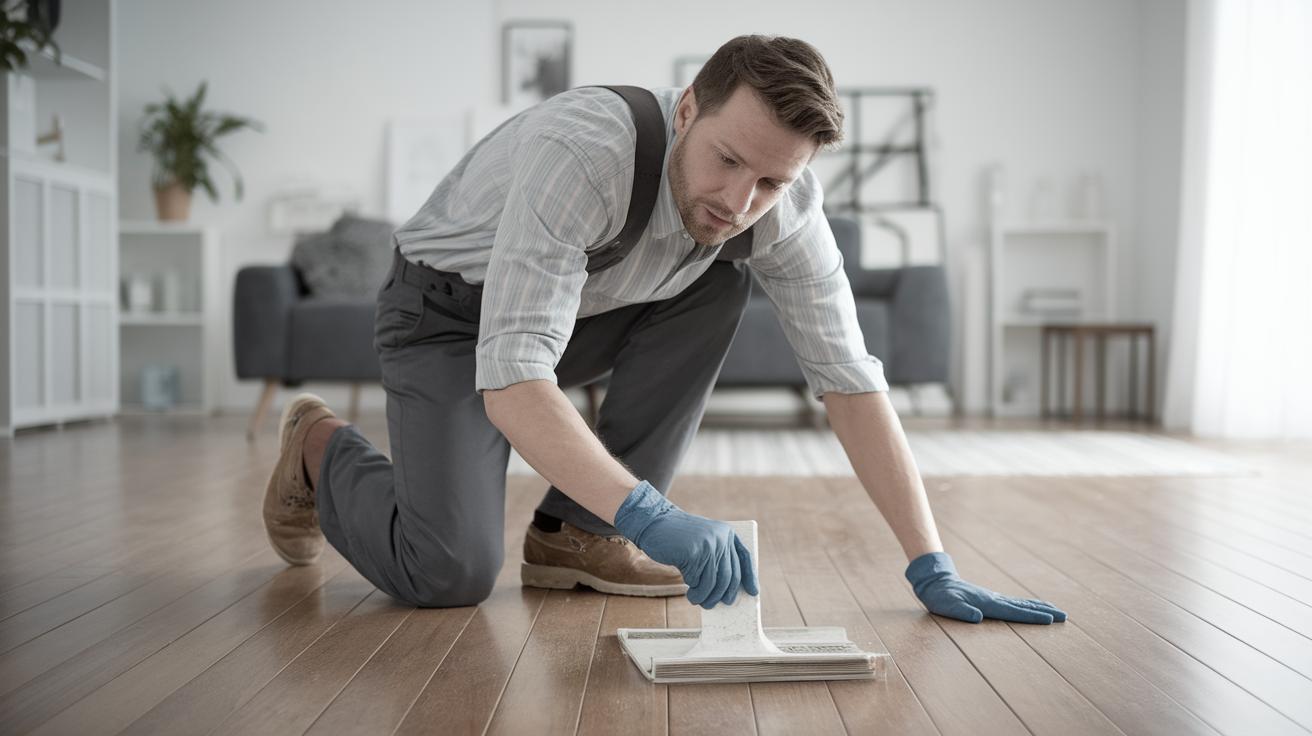
How to Undertake a DIY Floor Restoration Project
Refinishing a hardwood floor is a rewarding DIY project that can rejuvenate the beauty of your home. With the right tools, materials, and know-how, you can transform worn-out, scratched, or dull-looking floors into stunning surfaces. This comprehensive guide will take you through the process of refinishing hardwood floors, from initial preparation to the final sealing. Throughout the journey, you’ll learn essential tips and techniques to ensure a professional-quality finish. Whether you’re dealing with minor scuffs or major gouges, following these steps will help you restore your floors to their former glory.
Related To:
Refinished Hardwood Floor
Refinishing hardwood floors involves a series of detailed steps aimed at restoring the natural beauty of wood. This process includes sanding, buffing, and sealing the wood to protect it from future damage while enhancing its appearance. By undertaking this restoration project yourself, you gain the satisfaction and cost-effectiveness of a dazzling transformation in your living space.
1. Prep the Room
Prep a Room for Hardwood Floor Refinishing: Cover Vents
Before you begin sanding, it is crucial to prep the room to minimize dust fallout. Cover vents with plastic sheeting or specialized vent covers available at hardware stores. This prevents dust from infiltrating your ventilation system, which could cause extensive cleaning later on. Securing the plastic with painter’s tape ensures it doesn’t shift during the project.
Position the plastic sheets over all entrances and doorways leading to other rooms to limit dust travel. Ensuring that the air conditioning or heating systems are off during the sanding phase can also reduce the spread of dust. Remember that adequate ventilation is important, so occasionally allow fresh air in through windows.
Prep a Room for Hardwood Floor Refinishing: Remove Molding
Removing baseboard molding before sanding the floor is a significant part of preparation. Use a pry bar with a thin edge to gently wedge between the wall and the molding, carefully prying it away to prevent damage. Label each section as you go to ensure easy reinstallation.
If your room has quarter-round molding, it’s advisable to remove this separately since it is more delicate. Use a utility knife to cut through any paint sealing the edges before removing them. This step helps ensure the sanding equipment reaches every floor edge, achieving a uniform finish.
2. Patch and Repair
Repair Floors for Hardwood Floor Refinishing: Repair Heavily Damaged Floors
Assess your floor for any major damage such as deep gouges, large holes, or boards that are warped or cracked. For these, you may need to replace boards entirely by cutting out damaged sections using a circular saw and installing new, well-fitting boards.
Use wood filler suitable for hardwood floors to fill gaps, ensuring it’s level with the surrounding area. Let the filler dry completely before proceeding. For uneven transitions, a plane or belt sander can help even out mismatched surfaces.
Repair Floors for Hardwood Floor Refinishing: Repair Lightly Damaged Floors
Light scratches, small dings, and superficial stains are often treatable with wood putty or filler. After application, use a putty knife to spread the substance evenly over defects. Allow them to dry, and then sand lightly to blend repairs seamlessly with the surface.
Inspect joints and seams between boards for any open spaces. A flexible caulking compound adds resilience to these areas, particularly in rooms with variable humidity like kitchens or bathrooms. The goal is for a smooth, intact surface before proceeding to sanding.
Repair Floors for Hardwood Floor Refinishing: Wipe Down Floor
Once repairs are complete, it’s essential to thoroughly clean the floor, removing all dust and debris for a clean slate. Use a mild detergent mixed with water to mop the surface, followed by a clear water rinse to eliminate any soap residue. Allow the floor to dry completely.
Vacuuming after mopping can help remove any remaining particles, ensuring a pristine base for sanding. Make sure any furniture and obstructions are removed from the work area for unobstructed open space ready for the next steps.
3. Sand the Floor
Hardwood Floor Refinishing: Using a Drum Sander
Begin sanding with a drum sander, which effectively tackles major surface imperfections. Start with a coarse-grit sandpaper, such as 40-grit, and gradually progress to finer grits for a smoother finish. A steady pace prevents gouging the wood, and moving with the grain achieves optimal results.
Handle the drum sander with care and attention, allowing the machine to do the work. Adjust the grip on the sander as needed, and always keep it moving while operating to avoid creating uneven surfaces from burning or over-sanding areas.
Hardwood Floor Refinishing: Using an Edge Sander
After navigating the main floor area, switch to an edge sander to reach the corners and edges the drum sander couldn’t access. Begin with coarse paper, methodically refining to softer grits (up to 100-grit) matching the finishes in the center of the room.
Take special care around moldings or near doors to prevent unnecessary nicks. Slow and steady motions help maintain the same level of smoothness as the rest of the floor, providing a uniformly sanded area ready for the next step.
Hardwood Floor Refinishing: Achieving a Smooth Surface
Completing the sanding process with a fine 120-grit sandpaper ensures all superficial marks from prior grits are removed. This final round is critical for preparing a perfectly smooth surface, which will make the sealer or stain application more effective and even.
Before moving to buffing, thoroughly vacuum the sawdust and wipe the floor using a tack cloth to lift fine particles. A clean surface is essential for subsequent phases, preventing any grit from marring the finish during preparation or application.
4. Buff the Floor
Hardwood Floor Refinishing: Buff the Floor
Buffing is a minor but crucial part of the restoration, contributing to the final appearance. Using a buffer, pass slowly over the entire floor surface to remove the incremental scratches left from sanding and to ensure that the floor is uniformly prepped before finishing.
The buffer should be moved in a systematic fashion, usually recommended to work in triangular sections and overlap slightly on each pass for consistency. This step also highlights areas that may require additional attention before applying a finish.
5. Prep for Sealer or Stain
How to Refinish Hardwood Floors: Prep for Sealer or Stain
Before applying any finish, double check that the floor is entirely clean. Wipe down with a microfibre cloth lightly dampened with water to catch all particles left from previous steps. The undersurface must be totally devoid of dust for the best adhesion.
If you’re applying a water-based stain or sealer, confirm the room’s humidity levels are conducive to drying. Make any necessary adjustments to airflow or temperature to promote even curing once the application starts. Consistent environmental factors guarantee the longevity of your surface treatment.
How to Refinish Hardwood Floors: Water Popping
The optional process of water popping opens the wood’s grain, allowing subsequent stain applications to penetrate evenly for richer colors. A clean application relies on proper technique, which involves spreading water in a measured manner over your floorboards.
Using a cloth or mop, evenly apply water across the entire hardwood surface, taking care to avoid over-saturating. Let the floor dry adequately before applying the stain to hold both color and clarity well.
How to Refinish Hardwood Floors: Spread the Water Popping Solution
Spread the water properly and evenly, assessing as you go to ensure that no spots are missed or overly damp. This uniform moisture application may require multiple passes depending on your wood type and quality.
Check for consistent glossiness as an indicator of appropriate coverage. Allow natural drying, which will visibly raise the grain making it prepared to receive your chosen finishes in subsequent stages.
6. Apply Stain (Optional)
How to Refinish Hardwood Floors: Apply Stain (Optional)
If you choose to stain your hardwood floor, select a color that enhances your space. Employ a high-quality brush or foam applicator to obtain smooth results. Apply in the direction of the grain using long, even strokes, taking special care around edges and corners.
Once applied, let the stain set as per manufacturer instructions, usually ranging from 24 to 48 hours. Avoid stepping on the treated area during this period to prevent imperfections. The patience at this stage pays off as complete drying ensures uniform absorption and greater durability for your stunning floor.
7. Seal the Floor
How to Refinish Hardwood Floors: Apply Polyurethane
Once the stain has dried (or if you choose not to stain), sealing is next. Polyurethane provides a robust finish, either oil-based for durability and rich hues or water-based for quicker drying and less odor. Apply with a clean, high-quality roller or brush.
As you coat the floor, maintain a wet edge to prevent lap marks and ensure full coverage, working methodically across the surface. Evaluate each section under adequate lighting to verify that coverage is thorough and consistent.
How to Refinish Hardwood Floors: Buff with Steel Wool
When the first coat of polyurethane dries, lightly buff using #0000 steel wool to create a subtle texture to which additional coats can adhere. Aim for gentle abrasion and consistent surface distress, which promotes successful layering.
Clean the floor post-buffing to remove all wool residues with a vacuum and tack cloth. Apply additional layers as needed (at least two total), sanding lightly between coats. Each layer builds on the last, enhancing durability and aesthetic appeal.
Lessons Learned
| Steps | Key Actions |
|---|---|
| Prep the Room | Cover vents, remove molding |
| Patch and Repair | Repair floors, fill gaps, wipe down |
| Sand the Floor | Use drum and edge sander, achieve smoothness |
| Buff the Floor | Buff to finish smoothing, enhance adhesion |
| Prep for Sealer or Stain | Ensure clean base, optional water popping |
| Apply Stain (Optional) | Select color, apply uniformly |
| Seal the Floor | Polyurethane application, buff between coats |

