
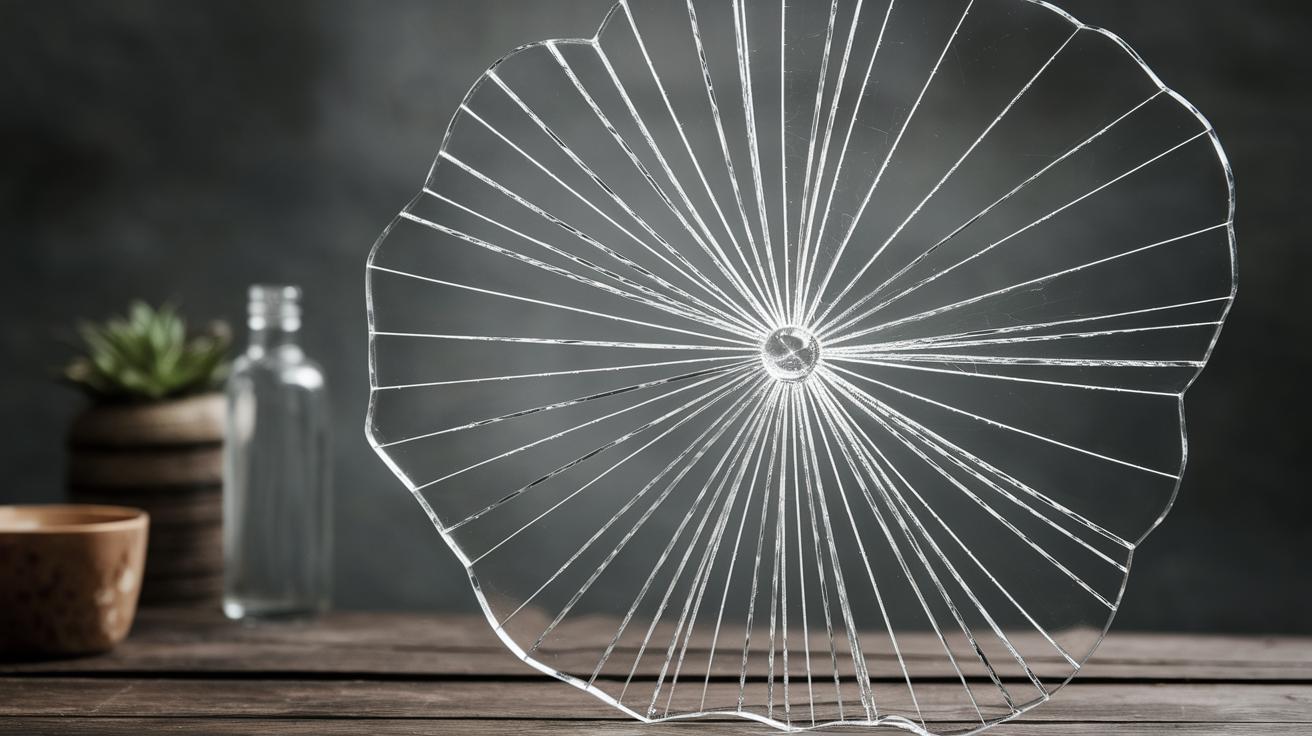
Fix and Restore Broken Glass Items
Broken glass items, whether they are cherished heirlooms or practical everyday items, can be a challenge to repair. However, with the right approach and materials, you can restore their functionality and aesthetic appeal. This article provides a comprehensive guide on how to repair broken china, porcelain, and glass items. We’ll detail the materials needed, the clamping techniques, the gluing process, and ways to rebuild missing parts to make your items whole once more. Follow along to learn how you can breathe new life into broken pieces and keep them from being relegated to a landfill.
How to Repair China, Porcelain, and Glass
Materials:
The first step in any repair process is gathering the proper materials. For china, porcelain, and glass repairs, special adhesives specifically designed for fragile materials are essential. Epoxy resins are often recommended due to their strong bonding capabilities and durability. Make sure to choose a product that dries clear and can resist heat and moisture. Other useful materials include a fine brush for applying the glue, masking tape to hold pieces in place, and cotton swabs to wipe away excess adhesive.
In some cases, especially with antique items, you may need additional materials like fillers to mimic the texture of china or porcelain. These can be used to rebuild missing fragments or to fill in chips. Lastly, ensure you have a clean and static-free workspace to prevent dust and debris from interfering with the repair process.
Clamping
Proper clamping is crucial in ensuring the glued parts of a broken item bond securely and accurately align. In many cases, improvising clamps with rubber bands, adjustable straps or even weights can apply the needed pressure to the joined sections. Always use a soft barrier, such as a piece of fabric, between any clamps and the surface of the items to prevent additional damage.
When clamping, take care to align edges exactly, as any misalignment will be noticeable. This process may require an extra pair of hands, especially for larger items, so enlist help if necessary. Once in place, allow ample time for the adhesive to set as per the manufacturer’s instructions, often requiring several hours for a complete bond.
Gluing
The gluing step is most critical for a lasting repair. Start by cleaning the broken surfaces to ensure there’s no dust, oils, or debris that might compromise the bond. Apply the glue sparingly; too much can weaken the bond and result in unsightly overflow. It’s preferable to use a small brush or toothpick to precisely apply adhesive along the edges.
Join the pieces together carefully and wipe away any excess before it dries using a damp cotton swab. For larger breaks, it might be necessary to apply glue in sections, allowing each part to set before moving onto the next. Follow the product instructions for curing time, and resist the urge to test the bond until it’s fully set.
Rebuilding
When pieces are missing or severely shattered, merely gluing edges won’t suffice, requiring a more complex rebuilding process. Here, specialized ceramic polyester fillers or epoxy putties come into play. These materials can be sculpted to recreate missing fragments of your item. Carefully mold the filler and sand it down to match the item’s texture once cured.
Color matching is also crucial in these repairs. You may need to apply touch-up paint suitable for ceramics and glass to blend the repaired area with the original surface. Be sure to follow paint application with a protective sealant designed for such materials to enhance durability and appearance.
For more information on do-it-yourself kitchen improvement projects, try the following links:
Should your interests broaden into other areas of home repair or improvement, there are myriad resources at your disposal. Comprehensive guides on re-tiling, cabinetry upgrades, or plumbing fixes can transform your living space. Websites like DIY Network and Home Depot’s project center can offer tutorials and inspiration to launch your next at-home project.
Future Prospects
| Process | Steps | Materials Needed |
|---|---|---|
| Materials | Select adhesives, brushes, masking tape | Epoxy resin, fillers |
| Clamping | Align pieces, apply pressure | Rubber bands, straps, fabric barriers |
| Gluing | Clean, apply glue, join pieces | Brush, epoxy, cotton swab |
| Rebuilding | Use fillers to recreate missing parts, apply paint | Ceramic fillers, epoxy putties, touch-up paint |

