
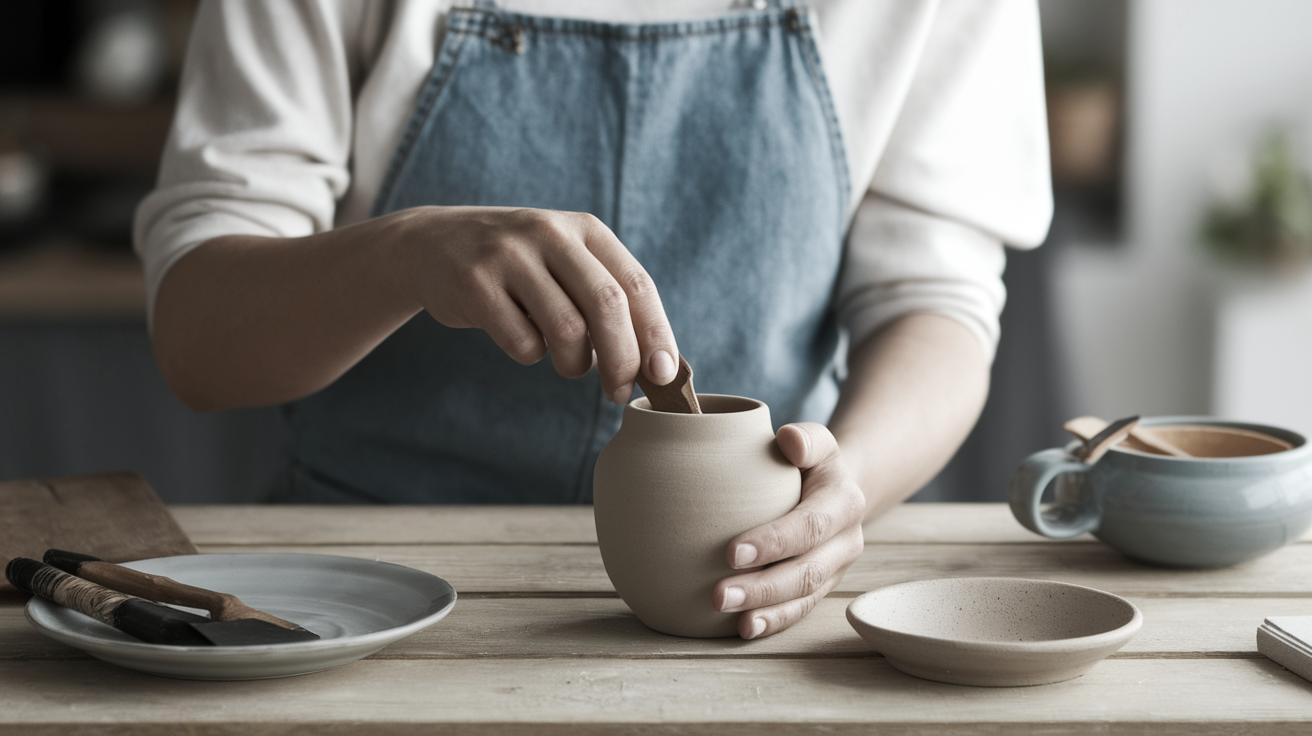
Introduction: Mending and Filling Broken Ceramic and Pottery
Pottery and ceramics hold immense historical, aesthetic, and sentimental value, representing cultures and personal memories alike. Whether an artifact, a valuable collection piece, or a family heirloom, the breakage of pottery can be heartbreaking. Fortunately, broken pottery and ceramics can often be successfully restored with care, precision, and the right materials. This guide will walk you through each step, from preparation and selection of materials to detailed methods of repair and final finishing touches. Explore comprehensive instructions, tips, and tools to breathe new life into your cherished pottery, whether it leads you to a traditional result or inspires you to explore the art of Kintsugi. Join us as we delve into the art and science of pottery restoration, a craft that transforms broken pieces into beautiful works of art.
Step 1: What You Will Need for Pottery Mending Steps?
To begin the process of repairing broken pottery, you’ll need an assembly of essential tools and materials. Among these, the most critical items include a 2-part epoxy adhesive, which bonds the broken pieces together with remarkable strength. Additionally, small brushes are needed for applying the adhesive with precision, as well as acetone for cleaning your hands and fixing any unwanted adhesive residue. A sturdy work surface and ample light will aid accuracy and efficiency during the mending process.
Beyond basic supplies, additional items such as tweezers, clamps, or masking tape can be useful for positioning and securing pieces while the adhesive sets. Cleaning cloths will help in keeping the working environment tidy, ensuring that no contaminants affect the adhesive bond. Organization and readiness are key to starting your pottery mending journey on the right foot.
Step 2: Before Start of Ceramic Mending
Before you begin mending your ceramic pieces, it’s crucial to prepare by laying out each broken piece in an organized manner. This initial step helps you visualize the puzzle-like nature of the restoration and allows for an efficient workflow. Organization also helps in understanding the sequence in which pieces should be reassembled to achieve a seamless finish.
Examine each fragment closely, noting any fine cracks or chips that may necessitate additional attention later. Cleaning the fragments with a gentle soap solution will remove any residual dust or grease, enhancing the effectiveness of the epoxy bond. It’s important to dry all fragments completely to avoid trapping moisture during the adhesive process.
Step 3: Applying the 2-part Epoxy to the Broken Pottery Bowl
Mixing the 2-part epoxy adhesive is a critical step in ensuring a strong bond between broken pieces. This resin and hardener combination offers a robust connection when applied accurately. Following the manufacturer’s instructions, mix the components on a disposable surface until achieving a consistent blend.
Using a small brush, sparingly apply the mixed epoxy to one edge of the fragments. Align the pieces carefully, ensuring an exact fit before gently pressing them together. Hold the pieces in place until they are secure, as this will avoid shifting and ensure a precise final result. For larger repairs, work in sections to maintain control over the application and attachment process.
Step 4: Place Broken Ceramic Pieces in Their Permanent Location
Once the epoxy has been applied to the broken edges, the next critical step is to return each piece to its original position. Doing this without haste ensures that the individual pieces align perfectly, contributing to the visual continuity of the entire object. Use reference photos or diagrams if necessary to guide your assembly process.
This precision alignment is vital for maintaining the structural integrity of the piece. Utilize clamps or masking tape to hold fragments securely in place, providing the necessary pressure needed for an effective bond. Allow the epoxy ample time to cure as recommended by the manufacturer, during which the piece should be handled with care.
Step 5: Cementing Additional Pieces
As some ceramic projects may have multiple shards, gradually cementing additional pieces is a methodical process. Start by securing larger fragments, creating a stable base to which smaller pieces can be added over time. Cementing bits at this stage requires patience and precision.
Pay close attention to surrounding tiny gaps and edges, reinforcing them with additional epoxy as needed. This ensures that all fragments bind together seamlessly, creating a structurally sound final product. Patience in this process will reward you with a well-aligned and durable repair.
Step 6: Using Clay for Securing Attached Pieces in Place During Curing Duration
In some complex repairs, using non-stick clay can be an effective tool to ensure the newly attached pieces remain steady during curing. Light modeling clay, when used strategically, can support fragments and prevent unwanted movement without damaging the surface finish.
Create small balls or ropes of clay to act as support braces. Position these supports beneath or alongside unabiding areas, adjusting as needed. This practical approach offers an extra layer of stabilization, particularly for intricate designs or irregular shapes.
Step 7: Removing Excess Cured Clear Epoxy Adhesive
After the epoxy has fully cured, it’s time to tidy up and remove any excess adhesive. Unwanted residue can detract from the finished appearance, so this step is essential. A small utility knife or scalpel can carefully remove excess cured epoxy, ensuring not to scratch or damage the adjacent surfaces.
This meticulous detailing will guarantee a cleaner edge where fragments reunite, enhancing the aesthetic cohesion of the repaired piece. Following any precise removal, gently wipe the area with acetone to refine any remaining discrepancies, leaving behind an impeccable, polished appearance.
Step 8: What You Will Need for Filling Cracks, Chips and Repair Lines
The next phase addresses the superficial uniformity of the restored pottery piece. Hairline cracks, chips, or repair lines can be unsightly, but specially designed fillers can address these imperfections. Essential materials for this phase include PC-11 epoxy filler, small spatulas, and fine sandpaper.
A well-lit workspace and adequate ventilation provide a conducive environment for applying filler compounds. Protective gloves are recommended to keep the compound off your skin, ensuring a safe and clean repair process. Consider investing in high-quality filler products for enhanced adherence and surface compatibility with paint or glaze applications.
Step 9: Applying PC-11 Epoxy Filler to Gaps
PC-11 epoxy is a popular choice for refilling gaps and cracks due to its robust bonding properties and smooth application. To apply, use a small spatula or putty knife, carefully pressing the filler into gaps or over chips. Smooth over each application with the knife edge to achieve a level surface.
This filling process addresses even the minute surface discrepancies and achieves a seamless texture. Once applied across necessary areas, ensure the filled regions are properly aligned with the surrounding original material, readying them for subsequent curing and sanding steps.
Step 10: PC-11 Filler Epoxy Curing Process
After applying the filler, allow the epoxy to cure according to the manufacturer’s instructions fully. This curing period is crucial for a fortified and lasting repair. Ideally, it is best to let the newly filled pottery sit undisturbed in a clean environment until the epoxy has completely hardened.
Take care to avoid exposure to extreme temperatures and direct sunlight during the curing process, which can affect adhesion and stability. Once cured, you will find that the former imperfections have been transformed into a uniform, visually appealing base, primed for sanding and painting.
Step 11: Sanding and Smoothing Vessel’s Surfaces
Sanding is the next essential step for creating a perfect surface. Use progressively finer sandpapers to smooth the filled areas and repair lines. Begin with medium-grit sandpaper to eliminate larger inconsistencies, then transition to fine-grit paper for a polished finish.
Be cautious not to over-sand areas, especially thin parts of the pottery, ensuring a balanced and aesthetic outcome. The key here is to blend the filled regions with the surrounding original ceramic material. A gentle hand and careful observation will reveal an imperceptible transition between repairs and the original surface.
Step 12: Final Steps Before Painting the Repaired Pot
Before moving on to the painting phase, make sure that all surfaces are clean and dust-free. A thorough wipe down with a damp cloth followed by a dry one ensures the removal of any sanding residues. This step helps in ensuring proper paint adhesion and an even finish.
This preparation sets the stage for a successful and smooth painting application, allowing the pot to serve as your new canvas. Attention to detail during this stage underscores the dedication and care you’ve invested throughout the repair process.
Step 13: Painting and “cold Glazing” the Bonded and Filled Pot
With the preparation phase complete, you can now embark on transforming the repaired pottery into a work of art. Choose paints and glaze components designed specifically for ceramics to ensure consistency and durability. Acrylic paints often serve well for a variety of aesthetics and finishes.
A meticulous application using brushes with soft bristles highlights the delicacy of your restored work. Consider strategies such as layering colors or blending shades to harmonize with original design motifs. Upon completing the painting, finalize the piece with a ‘cold glazing’ layer to protect the surfaces and enhance sheen, providing a visually stunning and protective polish.
Step 14: Ceramic and Sculpture Studio Tour
Within the realm of ceramic restoration, visiting a professional studio offers unique insights into the artistry and expertise required. Such studios serve as hubs for traditional repair techniques and innovative processes that blend modern materials with timeless craftsmanship.
During a tour, you may observe skilled artisans working on diverse pieces, from antique vases to avant-garde sculptures. Understanding the dynamics of a restoration studio broadens your appreciation for the meticulous steps involved in pottery repair, and inspires creativity as you incorporate similar techniques into your projects.
Step 15: Kintsugi Repair With Gold – How It Is Done and About Kintsugi Metaphor
Kintsugi, the Japanese art of repairing broken ceramics with lacquer dusted with powdered gold, highlights breakage and subsequent repair as an integral and celebrated part of an object’s history rather than something to disguise. This technique augments the mended pieces with an aesthetic of resilience and beauty.
The metaphor embedded within Kintsugi is profound, suggesting that imperfections and fractures can result in newfound beauty and strength. This philosophy resonates with the essence of pottery restoration, acknowledging the notion that the traces of something broken mark its unique history rather than diminishing its value.
Step 16: See a Similar Ceramic Repair Step by Step Video
To facilitate learning and understanding, watching a detailed video demonstrating the pottery repair process comprehensively underscores each step discussed in this guide. Such visuals provide a tactile appreciation of the restoration journey.
Step-by-step footage demystifies complex components and exemplifies the techniques in real-time, empowering viewers with confidence to embark on their ceramic repair projects. Emulating the process illustrated in these tutorials enhances skill acquisition and encourages you to tackle even challenging repairs.
More Lessons and Tutorials
Continual learning is the backbone of mastery in pottery restoration. Expanding knowledge through additional tutorials, whether online platforms or community workshops, enhances both technical aptitudes and creativity.
Seeking diverse training materials and practicing varied techniques enriches the repair process, equipping you with a repertoire of skills suited to diverse pottery restoration challenges. Your repaired pottery piece might just be the beginning of an ongoing journey as a pottery artisan. Cultivate these tutorials as a source of creativity and ongoing learning.
More Lessons and Tutorials
Joining a community of fellow enthusiasts who share a passion for pottery preservation offers more than just tutorials. Engaging with likeminded individuals fosters a community built on shared insights, problem-solving, and mutual appreciation for ceramic art.
Involvement in this welcoming environment presents ongoing opportunities for learning and collaboration, enhancing both your personal growth and contribution to the world of pottery arts. As you continue to hone your skills, remember that the road to mastery is continual, as each new project and challenge reveals unique insights and rewards.
| Step | Description |
|---|---|
| Preparation | Collect essential materials, organize pieces, clean fragments |
| Adhesive Application | 2-part epoxy applied to broken edges and precision alignment |
| Support | Use clay supports during curing, clamp if needed |
| Filler Application | Apply PC-11 filler to cracks/chips, smooth surface |
| Curing | Allow filler and adhesives to cure thoroughly |
| Sanding and Finishing | Sand repaired areas, prep for painting |
| Painting and Glazing | Paint restored pottery, apply a protective glaze |
| Philosophy | Explore Kintsugi and studio visits for inspiration |
| Community | Engage with tutorials and artisans for ongoing learning |

