
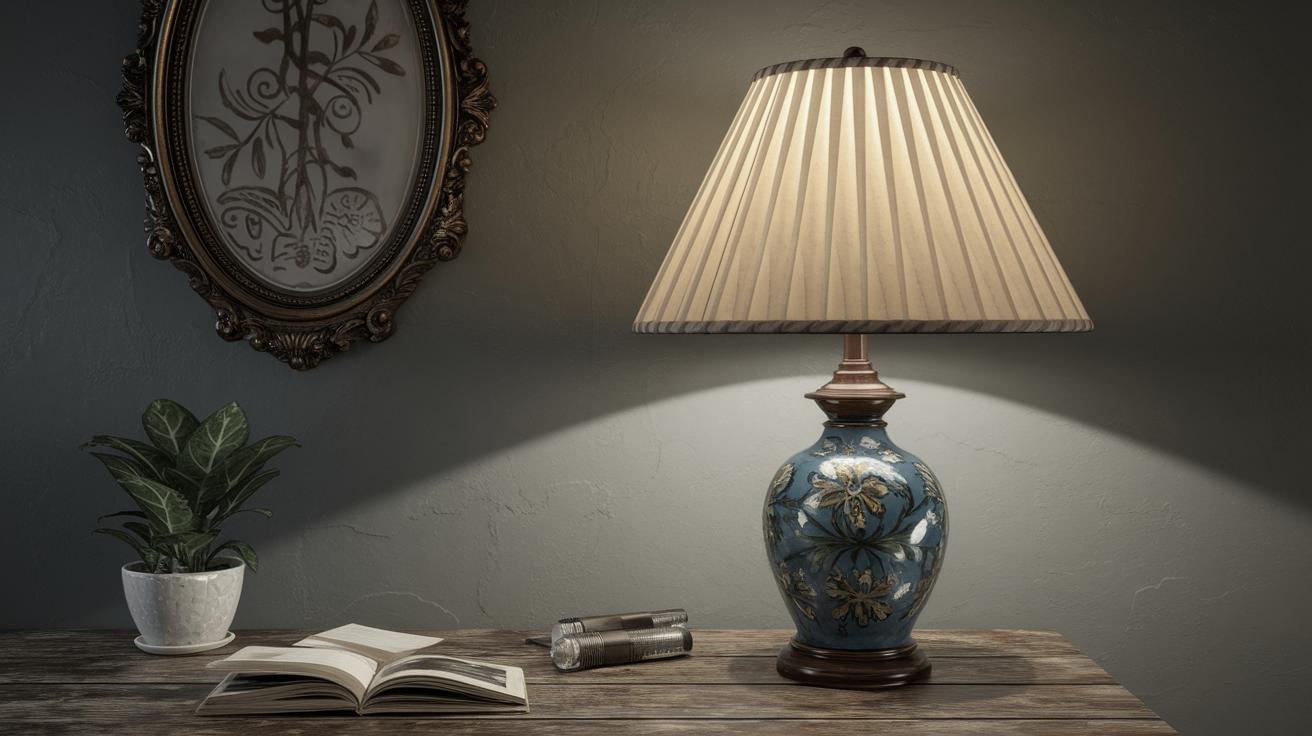
How to Restore an Old Lamp to Working Condition
Introduction: Restoring an Old Lamp
Restoring an old lamp to working condition is a rewarding project for anyone passionate about bringing vintage pieces back to life. Not only does this transformation give you a sense of accomplishment, but it also extends the lifespan of a beautiful artifact. This guide will walk you through every step required to restore an old lamp, from gathering necessary tools to final safety checks. Even if you are new to restoration, these detailed instructions will help you renew your lamp while maintaining its original charm. By learning these skills, you can tackle other DIY restoration projects with greater confidence and success.
Step 1: Things You Will Need
The first step in any successful restoration project is to gather the right tools and materials. For restoring an old lamp, you will need several specific items: a screwdriver set, sandpaper, rust remover, primer, paint, electrical tape, a new lamp cord kit, lubricating oil, and a multimeter. Make a checklist to ensure you have everything before you start, as this will save time and prevent unnecessary interruptions.
Beyond physical tools, having the right mindset is equally important. Approach this project with patience and an eye for detail. It might be helpful to find a clean and spacious work area where you can organize your materials and have ample room to work on your lamp comfortably. Remember, thorough preparation is key to a smooth and successful restoration process.
Step 2: The Old Lamp – Unplug & Remove the Bulb
To begin the restoration, ensure safety by unplugging the lamp from any power sources. This precaution is crucial in preventing electric shock during the rewiring and refurbishment processes. Carefully remove the bulb and set it aside, as you may want to replace it with a new one once the lamp is restored.
With the lamp unplugged and the bulb removed, take note of all the lamp’s removable parts. Photograph them as needed to remember the assembly order, which will be helpful when putting the lamp back together. Attention to detail at this initial stage will aid in the smooth reassembly of the lamp later on.
Step 3: Removing Rust
Many old lamps have metallic parts susceptible to rust over time. If you notice any rust, use sandpaper or a rust remover solution to clean the affected areas thoroughly. Sandpaper with a finer grit is preferred as it ensures smoother surfaces and prevents damage to the lamp’s metal parts.
After removing the rust, clean the lamp with a damp cloth to remove any dust and particles that may have accumulated. This process not only prepares the surface for painting and priming but also highlights the lamp’s original details once obscured by rust and grime, restoring its vintage charm.
Step 4: Priming and Painting
Once the lamp is free of rust and clean, apply a layer of primer to protect the metal and ensure the paint adheres properly. Choose a primer designed for metal surfaces and spray or brush it on in even layers, allowing adequate drying time as per the manufacturer’s instructions.
Next, select a color scheme that complements the lamp’s original design or your intended aesthetic. Use high-quality paint for a durable and attractive finish. Apply the paint in several thin coats for better adhesion and a smoother finish, allowing time for each coat to dry before applying the next. This stage allows you to express creativity while revitalizing the lamp’s appearance.
Step 5: Lubricating & Oiling
Pay attention to any mechanical parts of the lamp, such as hinges or adjustable arms, which may need lubrication to function smoothly. Use a light lubricating oil on these parts to reduce friction and prevent squeaking, ensuring the lamp’s parts move freely as intended.
Apply the oil sparingly and wipe away any excess with a clean cloth. This step is essential not only for functionality but also to add a handsome sheen to any metallic parts, contributing to the lamp’s overall aesthetic and operational appeal.
Step 6: Wiring
Rewiring is often the most technical part of a lamp restoration. Start by carefully removing the old wiring while noting its layout. Use a new lamp cord kit in compliance with current safety standards and carefully thread the wire through the lamp, replicating the original setup.
Use a multimeter to ensure the new wiring is correctly installed and grounded. Take your time with this step, as faulty wiring could transform a beautiful project into a safety hazard. If uncertain, consider seeking guidance from a professional electrician to ensure the lamp is wired safely and correctly.
Step 7: Restoration Complete
With the lamp’s exterior cleaned, rust removed, and fresh paint applied, it’s time to reassemble your masterpiece. Refer to any photos or notes taken during disassembly to ensure each part is correctly placed.
Once assembled, test the lamp by plugging it in and switching it on. Ensure the light functions as expected and safely, displaying both the functional and aesthetic elements of your restoration efforts. A successful restoration not only delivers a functional lamp but also revives its timeless elegance.
Step 8: Safety & Warning
Safety should always be a priority when dealing with electrical appliances. Always ensure the lamp is unplugged while working on any electrical components. Use tools properly and wear protective gear when necessary.
Be aware of the risks, and if at any stage you feel unsure about the project, especially wiring, consult with a professional. Your safety and the safe operation of the restored lamp should never be compromised.
Lessons Learned
| Step | Key Actions |
|---|---|
| 1. Preparation | Gather tools and create a workspace |
| 2. Safety First | Unplug lamp, remove bulb, document parts |
| 3. De-Rusting | Remove rust and clean the lamp thoroughly |
| 4. Finishing Touches | Prime and paint for a refreshed appearance |
| 5. Ensure Functionality | Oil moving parts for smooth operation |
| 6. Electrical | Rewire with new, safe components |
| 7. Project Completion | Reassemble and test the lamp |
| 8. Safety Measures | Prioritize safety with each step |

