
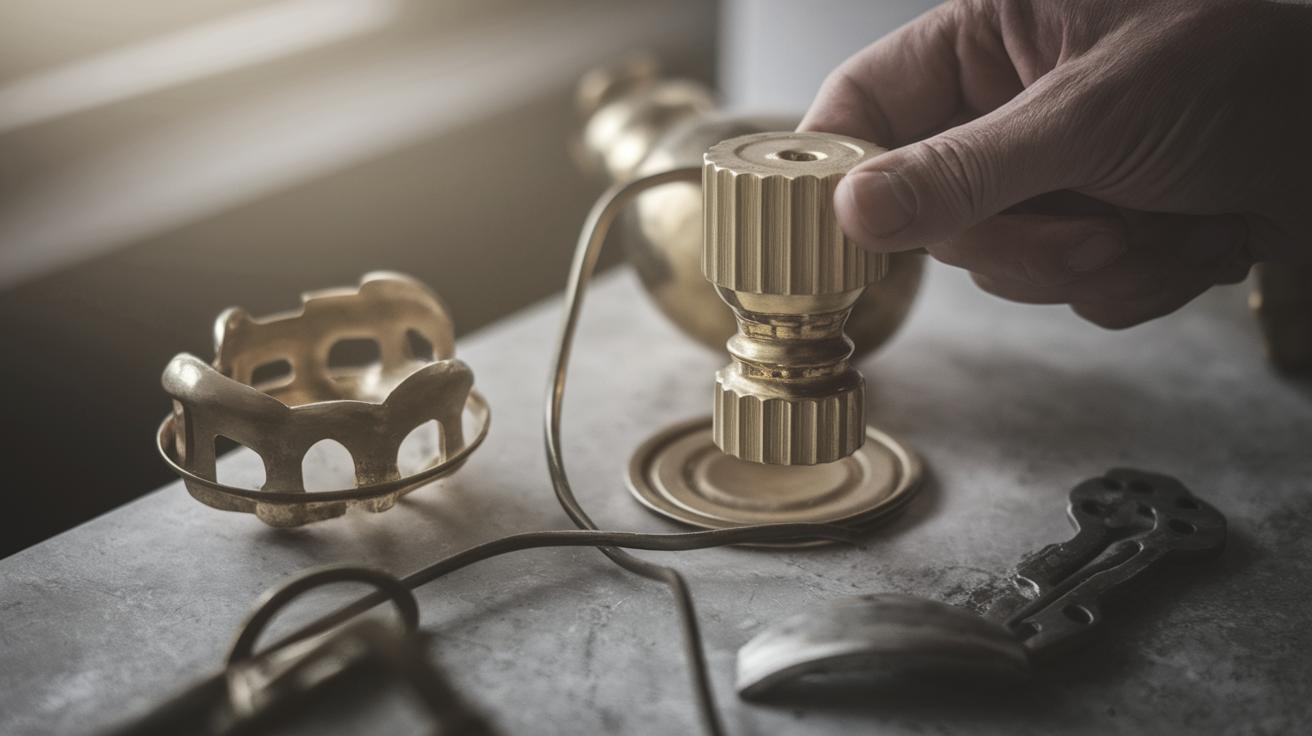
Brass Restoration: From Tarnish to Shine
Brass restoration is a meticulous process that revives the lustrous appeal of this timeless alloy. Whether you have a cherished antique or functional brass hardware, understanding the proper techniques to restore its shine is essential. This article navigates through the various stages of brass restoration, offering insights into cleaning severely tarnished surfaces, speed-cleaning methods, homemade brass cleaner preparations, and effective soaking techniques. By the end of our exploration, you’ll have a comprehensive understanding of how to breathe new life into your brass pieces and maintain their brilliance for years to come. Let’s dive into the art and science of brass restoration, discovering both age-old methods and modern solutions that ensure your brass continually gleams with grandeur.
How do you clean badly tarnished brass?
Cleaning badly tarnished brass starts with assessing the degree of tarnish. Brass tarnishes due to exposure to air and moisture, forming a layer of oxide or sulfide that dulls its appearance. For significant tarnish, begin by wiping the brass gently with a dry, soft cloth to remove loose dirt and dust. This ensures that the tarnish is the main focus of your restoration efforts rather than superficial grime.
The next step involves using a commercial brass cleaner or a homemade paste composed of equal parts vinegar, flour, and salt. Apply this mixture generously to the tarnished brass using a soft cloth or a brush with soft bristles for more intricate designs. Allow the paste or cleaner to sit on the brass for 10 to 15 minutes. This waiting period permits the acidic components to break down the tarnish, making it easier to wipe or scrub off. Afterward, thoroughly rinse your brass item with warm water to remove all residual cleaner, and dry it completely with a clean cloth to prevent further tarnishing.
What is the fastest way to clean brass?
When time is of the essence, there are a few quick methods to restore brass’s natural shine. One speedy approach is using specialized brass-cleaning wipes available in most hardware or cleaning product stores. These pre-moistened wipes are formulated to cut through tarnish swiftly, requiring just a simple wipe-down to see results. This method is particularly effective for smaller brass items or those that need a quick touch-up.
Another rapid cleaning technique involves using lemon and baking soda. Slice a lemon in half and sprinkle baking soda onto the exposed flesh. Rub the lemon directly onto the brass surface, allowing the natural acidity of the lemon combined with the abrasive nature of baking soda to break down tarnish quickly. After rubbing for a few minutes, rinse the brass under warm water and dry thoroughly. This method works well for small to medium-sized items and offers the added benefit of a fresh scent.
What is the best homemade brass cleaner?
A favorite among DIY enthusiasts, the combination of vinegar, salt, and flour creates an effective homemade brass cleaner. This simple yet powerful concoction leverages the acidic properties of vinegar and the abrasiveness of salt to dismantle tarnish. To make this cleaner, mix a tablespoon of salt into half a cup of vinegar, then add enough flour to form a thick paste.
Once the paste is ready, apply it generously to the brass object, ensuring all tarnished areas are covered. Allow the mixture to sit on the brass for about half an hour. This waiting period is critical as it lets the cleaner permeate the tarnish layers. Next, use a moist cloth to wipe off the paste, which should also remove the tarnish. Finally, rinse the object with warm water and polish it dry. This eco-friendly solution not only cleans effectively but also offers a cost-saving alternative to store-bought options.
What can I soak brass in to remove tarnish?
Soaking brass in a tarnish-removal bath is ideal for heavily ornamented items where detailed attention is needed. For an effective soak, create a solution using equal parts of vinegar and water. Submerge the brass item fully in this mixture, allowing it to sit for several hours or overnight depending on the severity of the tarnish.
After soaking, gently scrub the brass with a soft-bristle brush or cloth to remove loosened tarnish. Rinse the item thoroughly with warm water to wash away any remaining solution, then dry it with a lint-free cloth. For those seeking a quicker soak solution, baking soda dissolved in warm water also provides a good alternative. Always ensure that brass is completely dry post-cleaning to prevent moisture from promoting rapid tarnishing again.
Lessons Learned
| Method | Description | Pros | Cons |
|---|---|---|---|
| Commercial Cleaner | Use of store-bought brass cleaning products. | Effective, quick results. | Can be costly, chemicals involved. |
| Lemon and Baking Soda | Natural acid and abrasive combo. | Fast, natural, leaves fresh scent. | Not suitable for large items. |
| Vinegar, Salt, and Flour Paste | Homemade eco-friendly solution. | Cost-effective, chemical-free. | Requires more time and effort. |
| Soaking in Vinegar Solution | Soaking method for detailed items. | Great for intricate designs. | Time-consuming, potential for over-soaking. |

